The Logbook is a participant in the Amazon Services LLC Associates Program, an affiliate advertising program designed to provide a means for sites to earn advertising fees by advertising and linking to Amazon. com. I only link to products that I use personally, and that I love having in my own home.
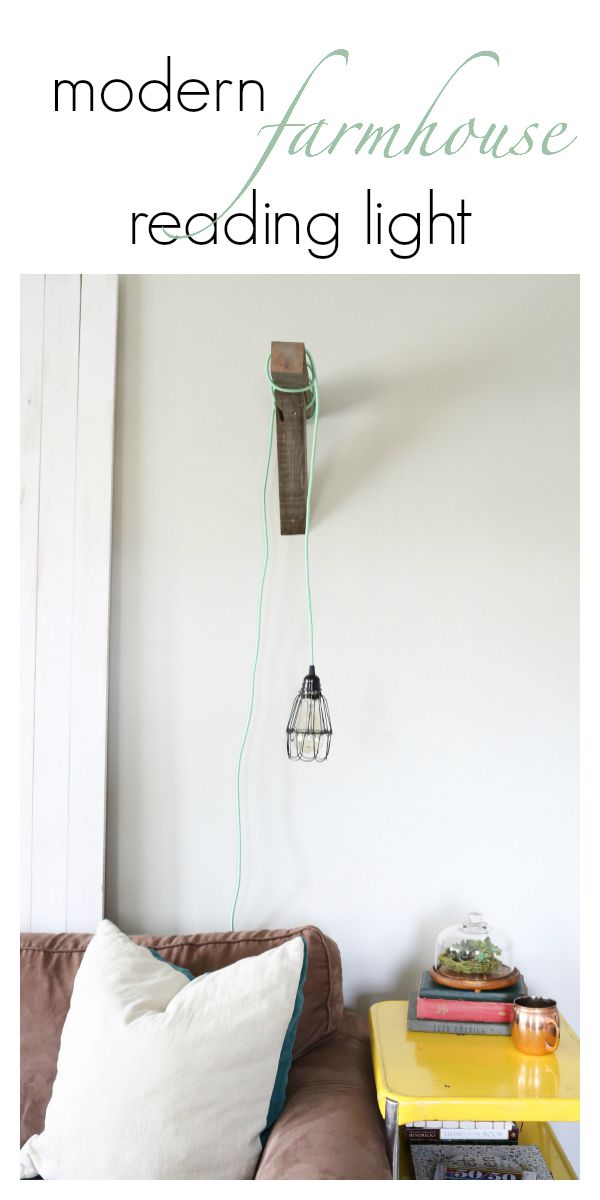
Since I've recently declared my personal style to be Modern Farmhouse I'm running with it and making sure my whole house has that modern and farmhouse feel. I have no idea if this is actually a term in the "professional design world". But it now is in my home! Today I'm so excited to share with you a DIY project that speaks to both my modern side and my farmhouse side. This beautiful reading light is completely me. The only problem? I didn't make two. Eek! I'm ordering more parts now and getting to work on a matching one very soon! Check out this light and the simple DIY instructions below!

To create your own modern farmhouse reading light you will need:
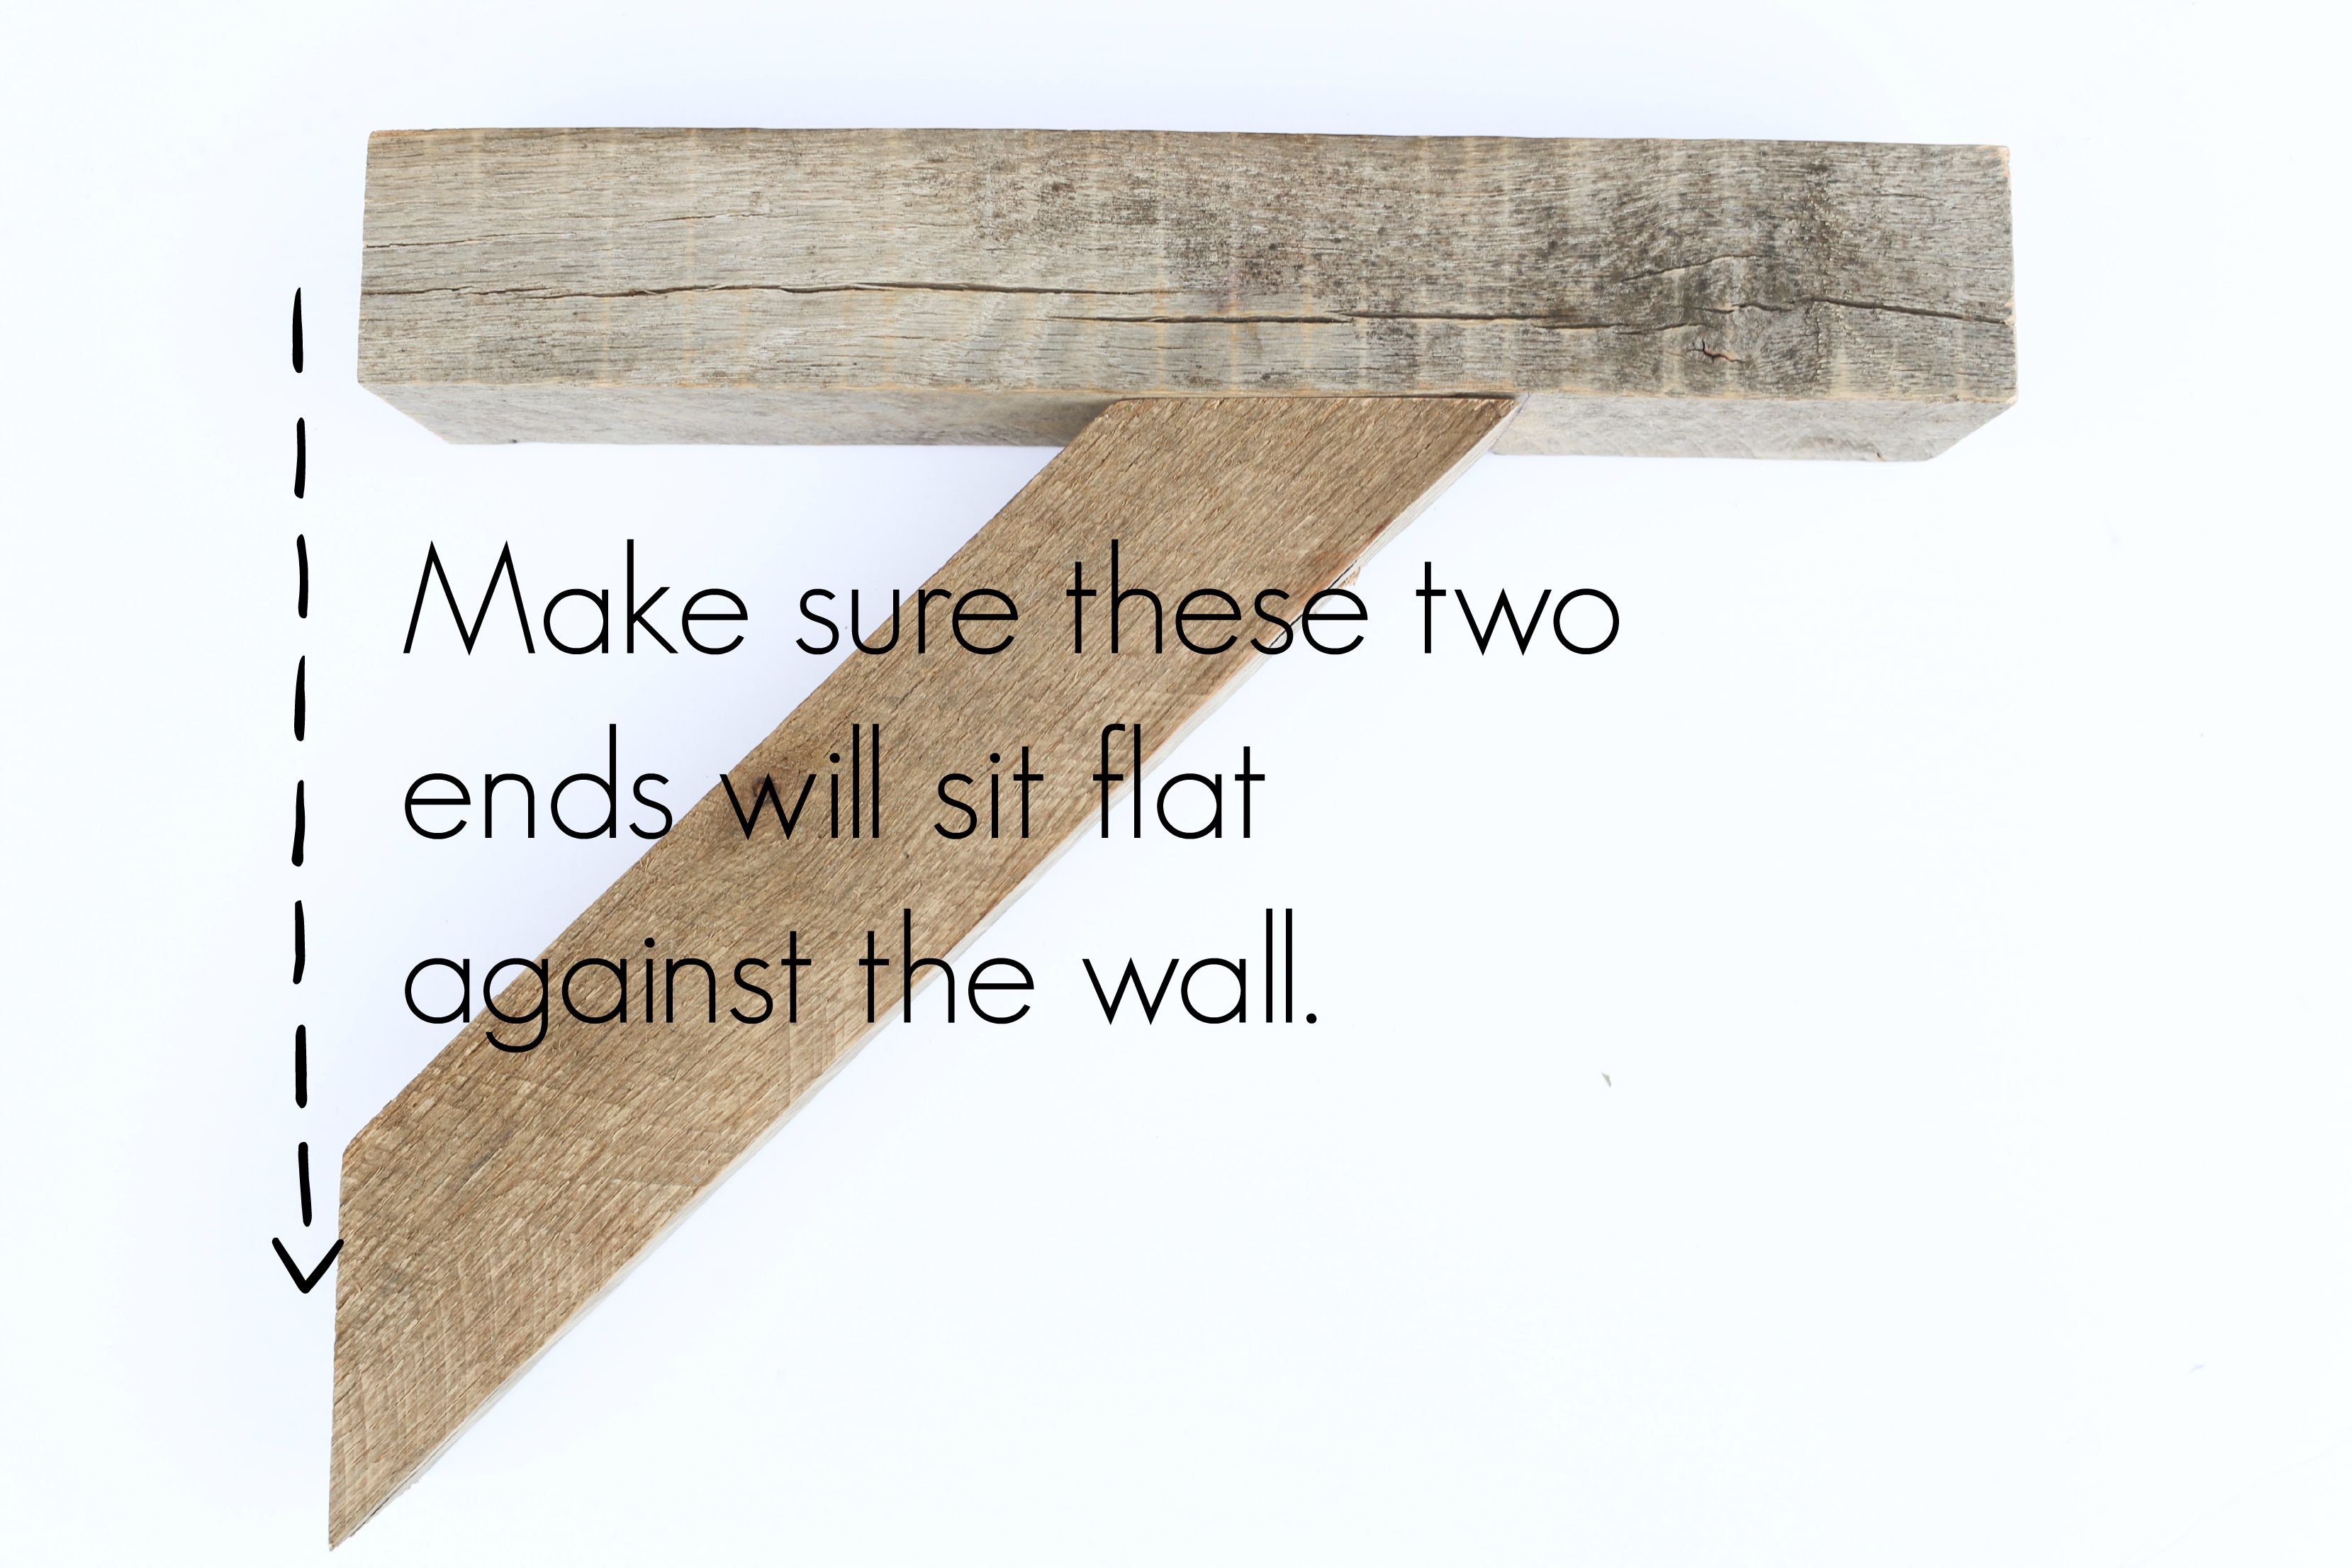
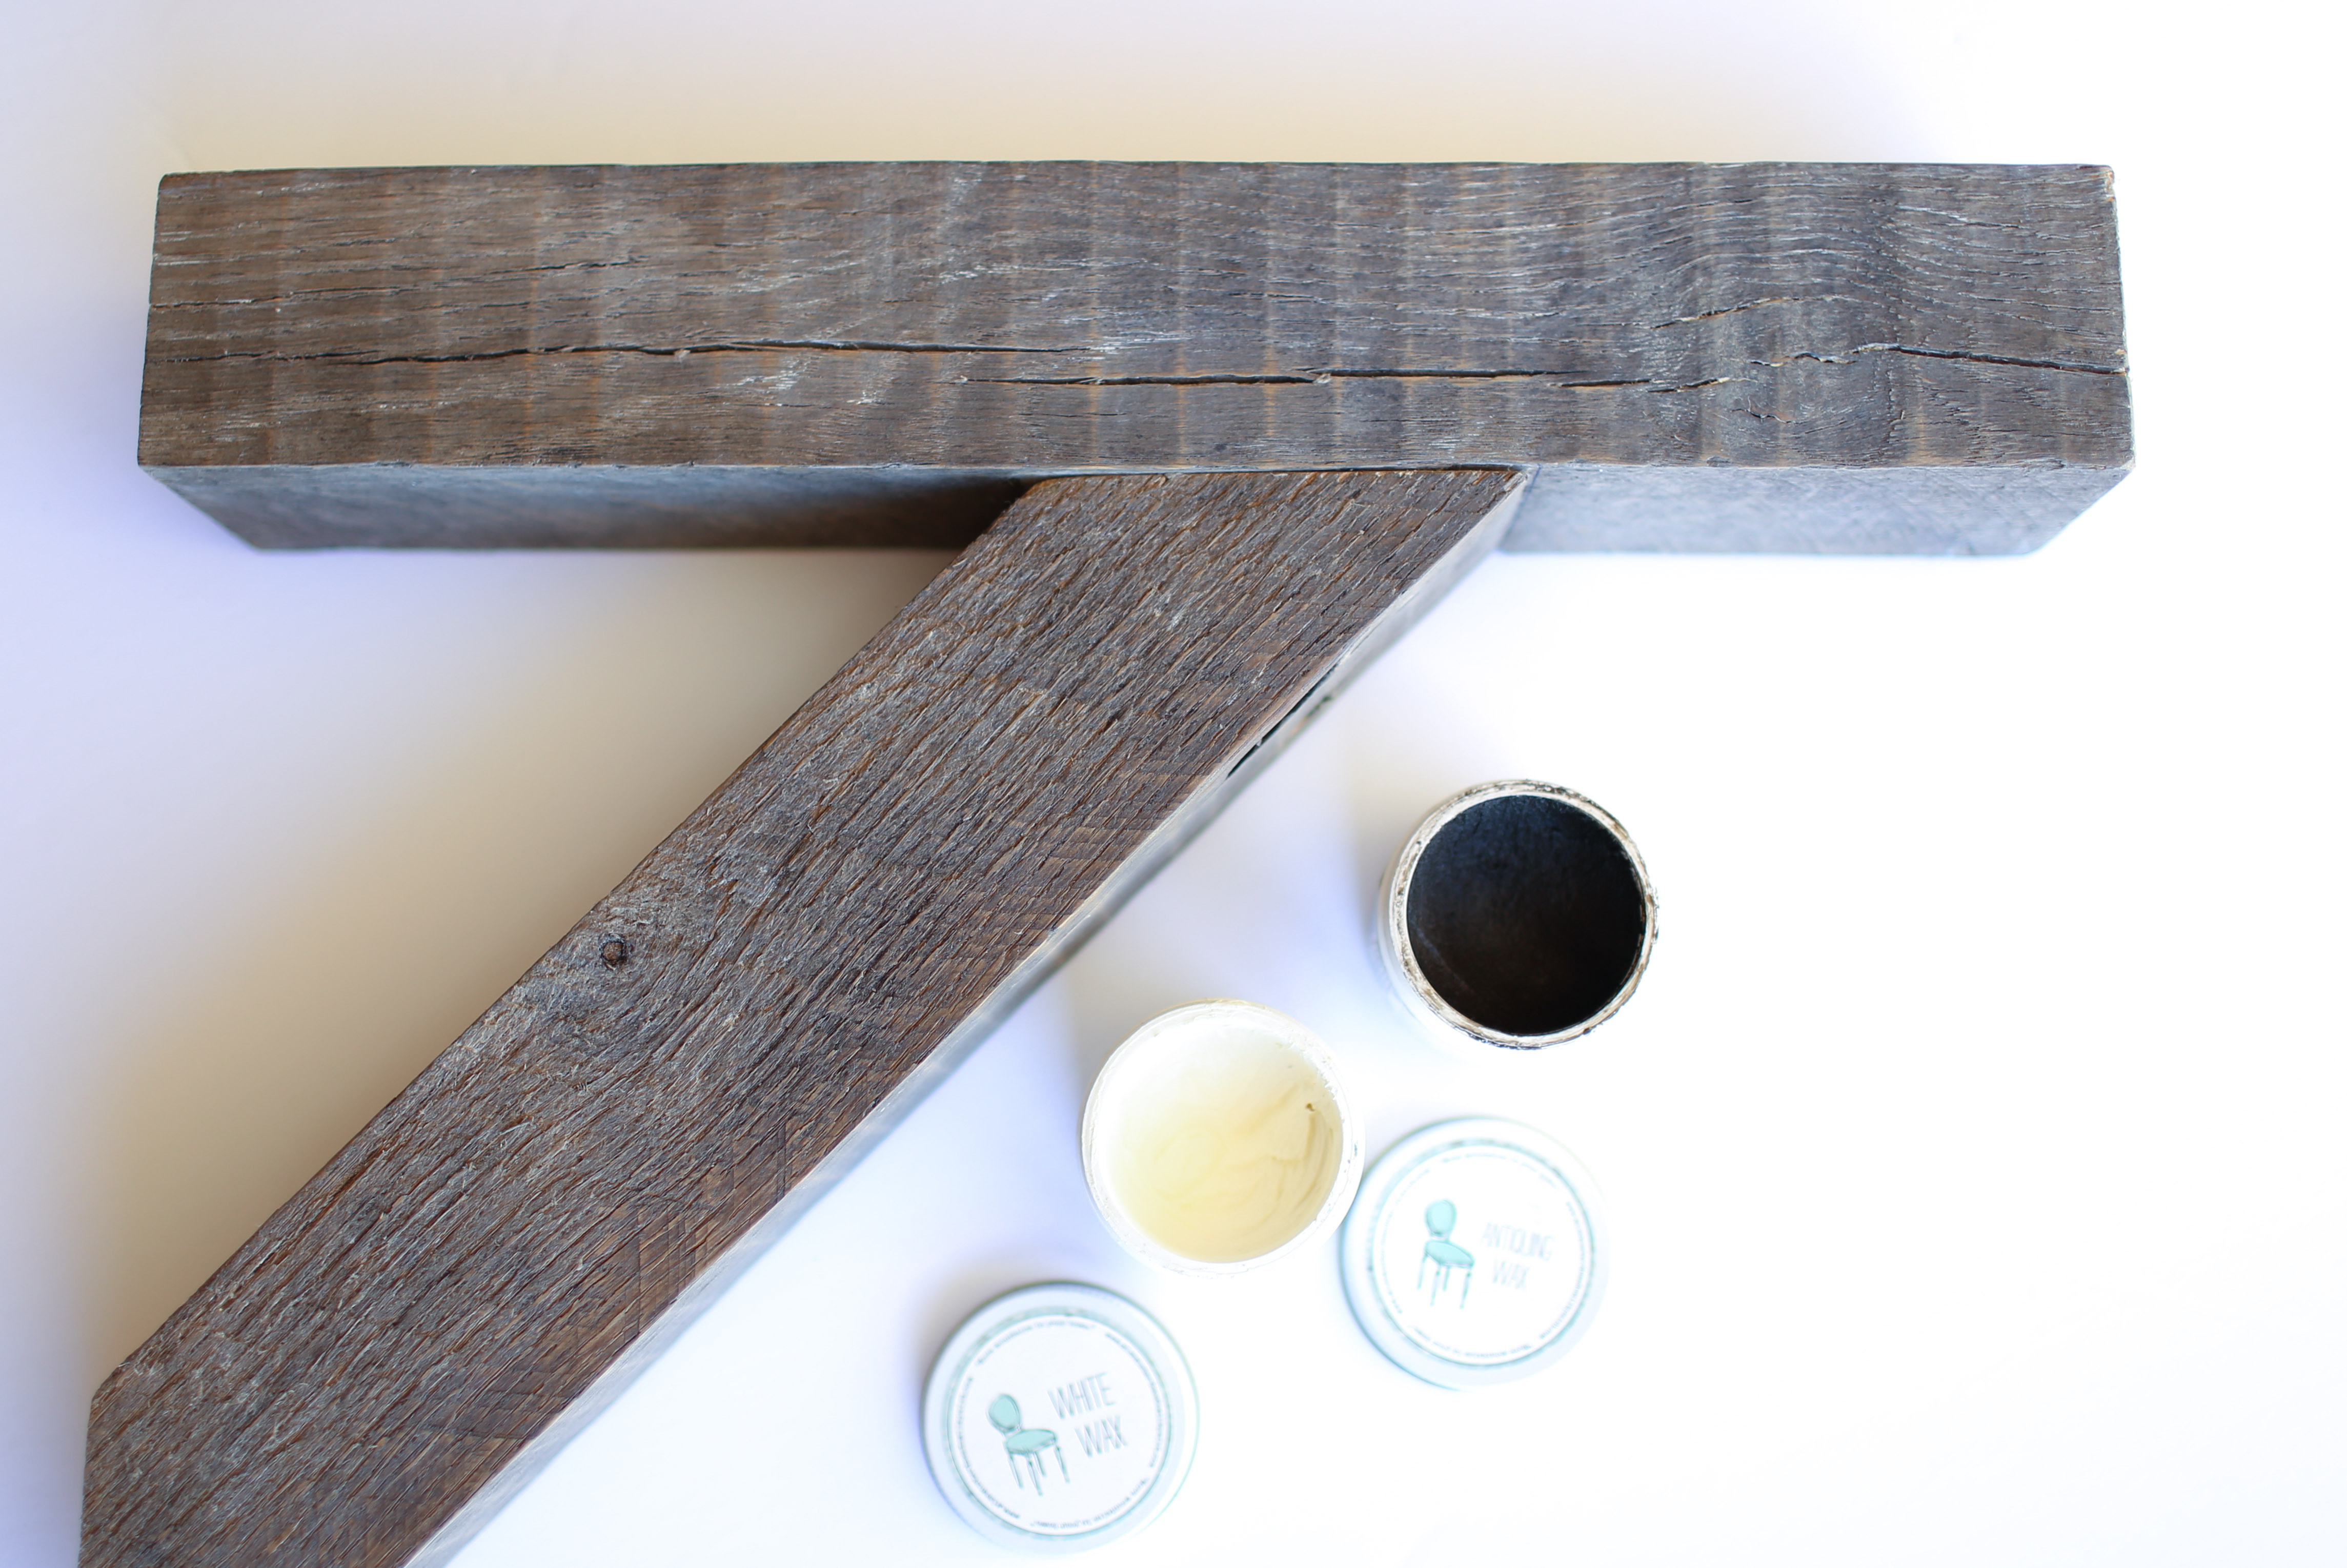
- Two pieces of wood. This is a two by two square piece of scrap wood. One is cut at 16 inches, with straight ends. The second piece is 15.5 inches with each end cut at a 45 degree angle.
- Wax, paint or stain if you want to change the color of the wood.
- A cloth light cord. This is the cord that started this whole project!
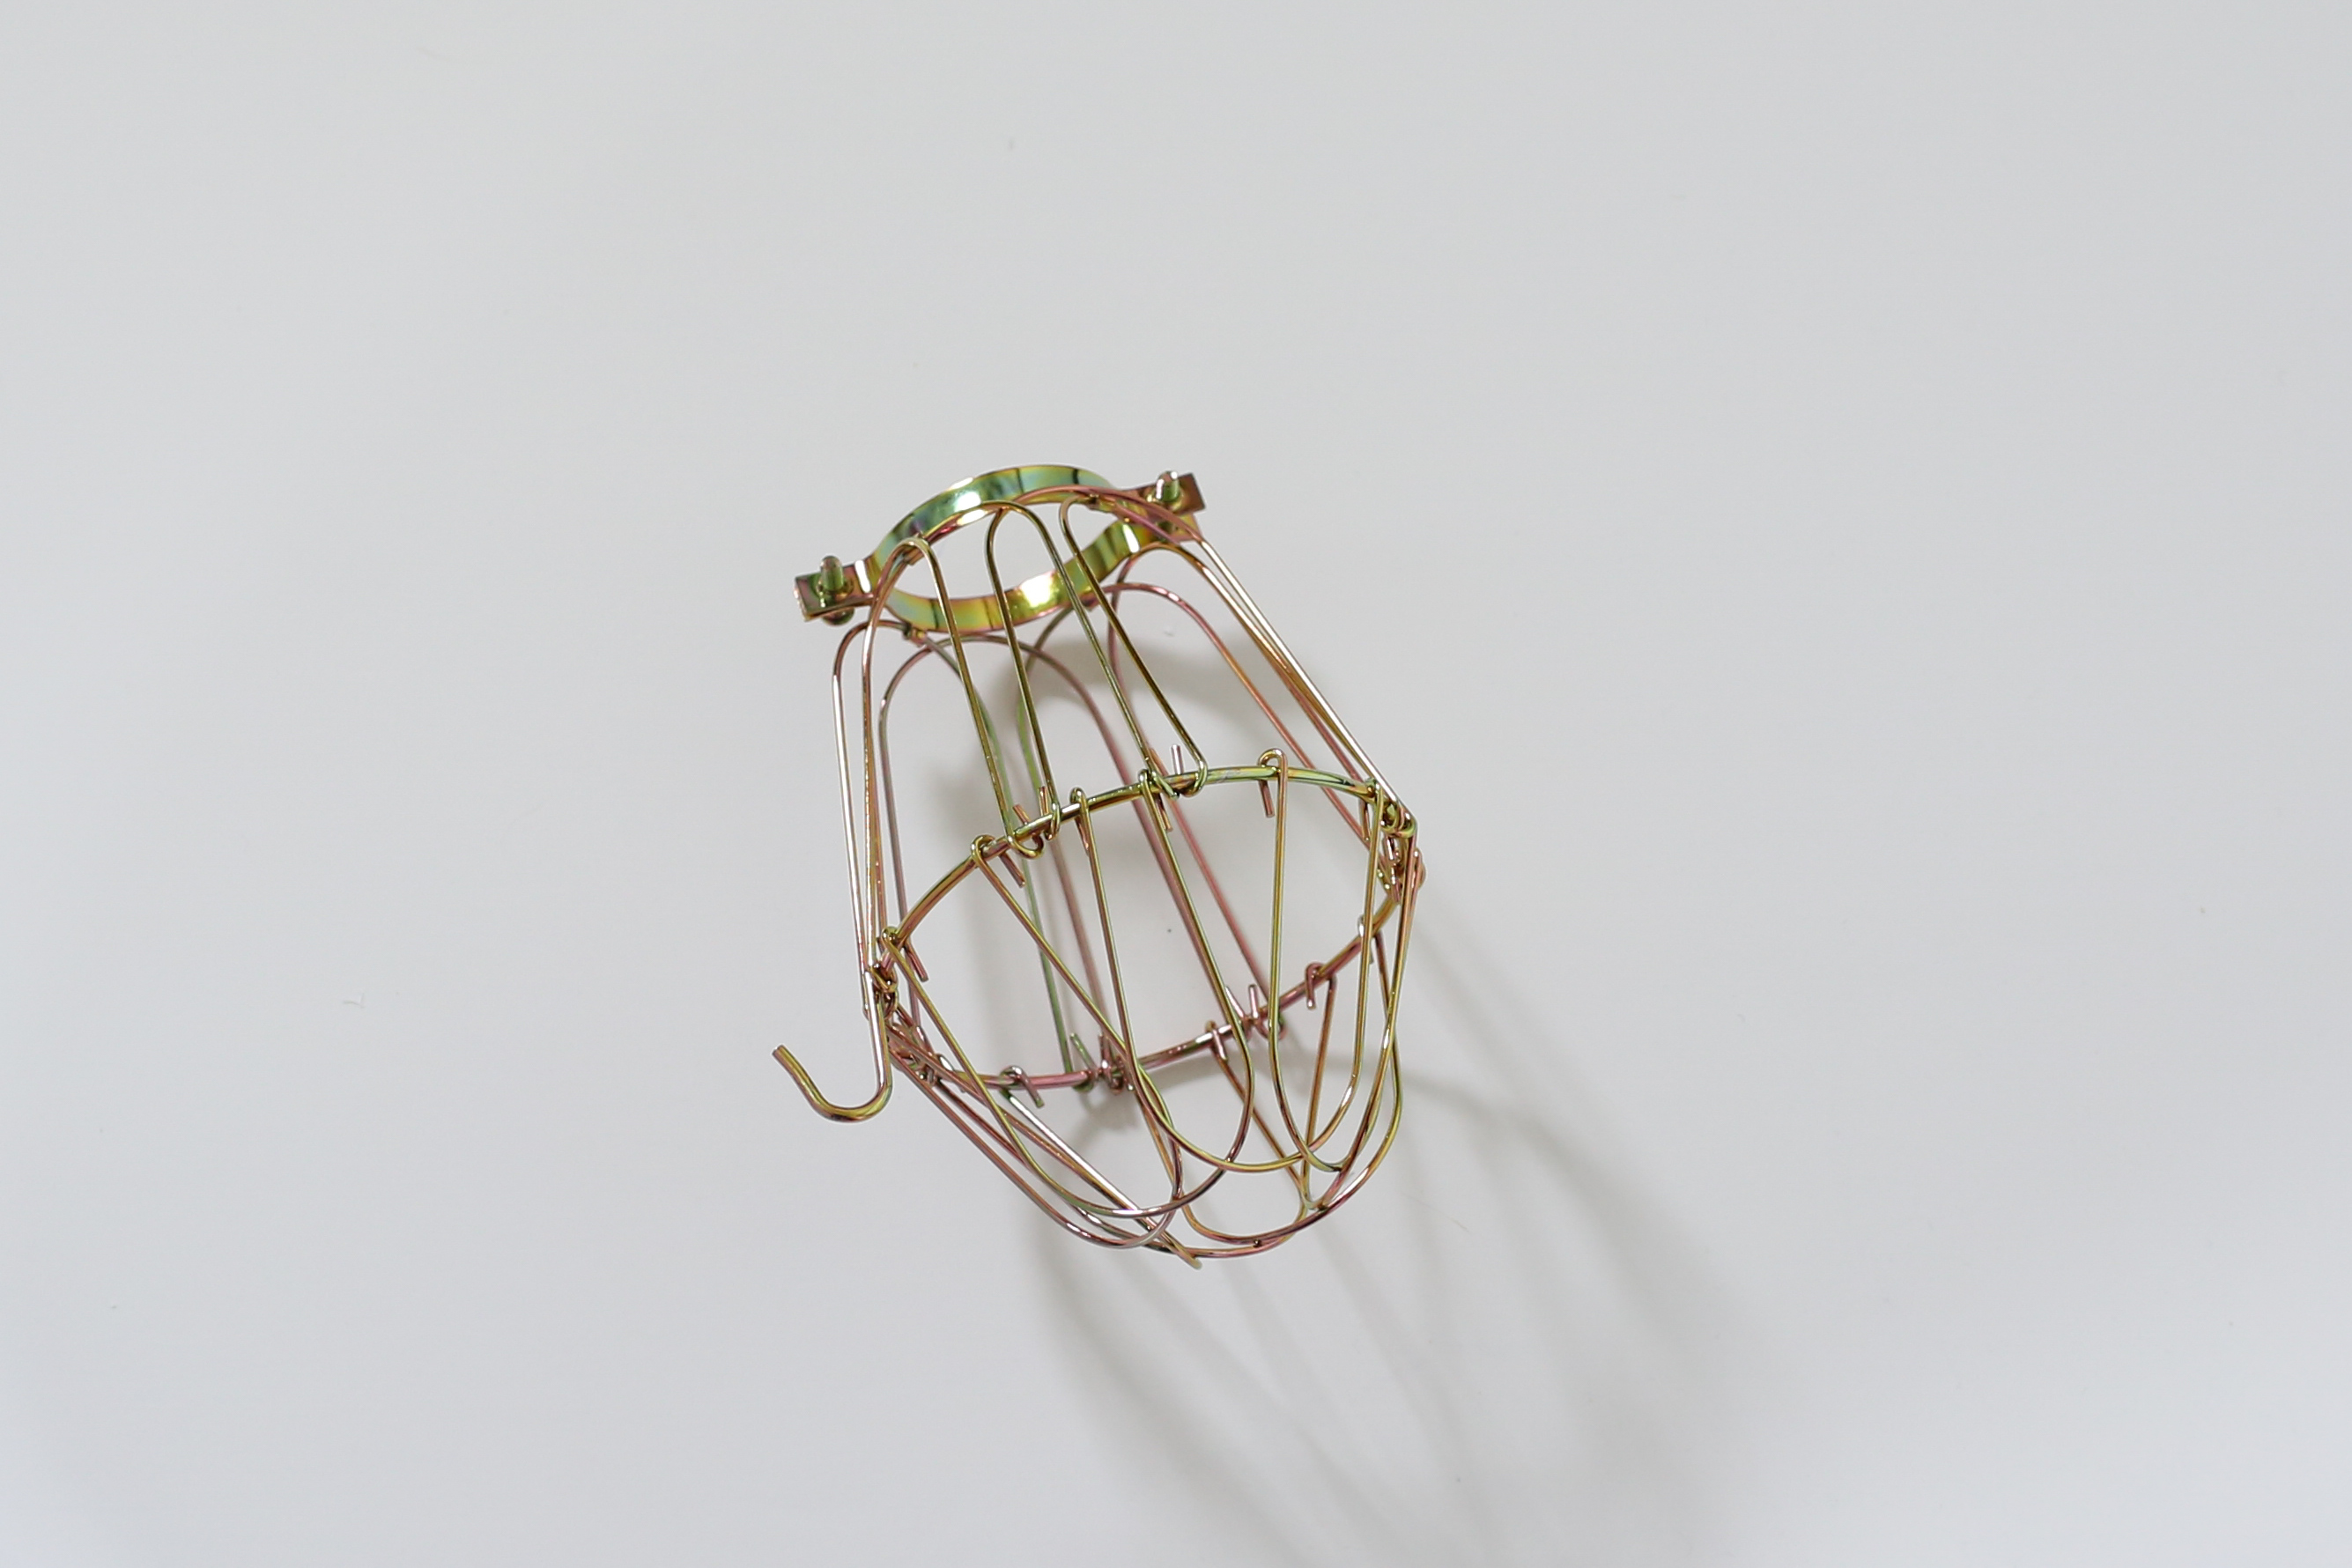
- Wire light cage.
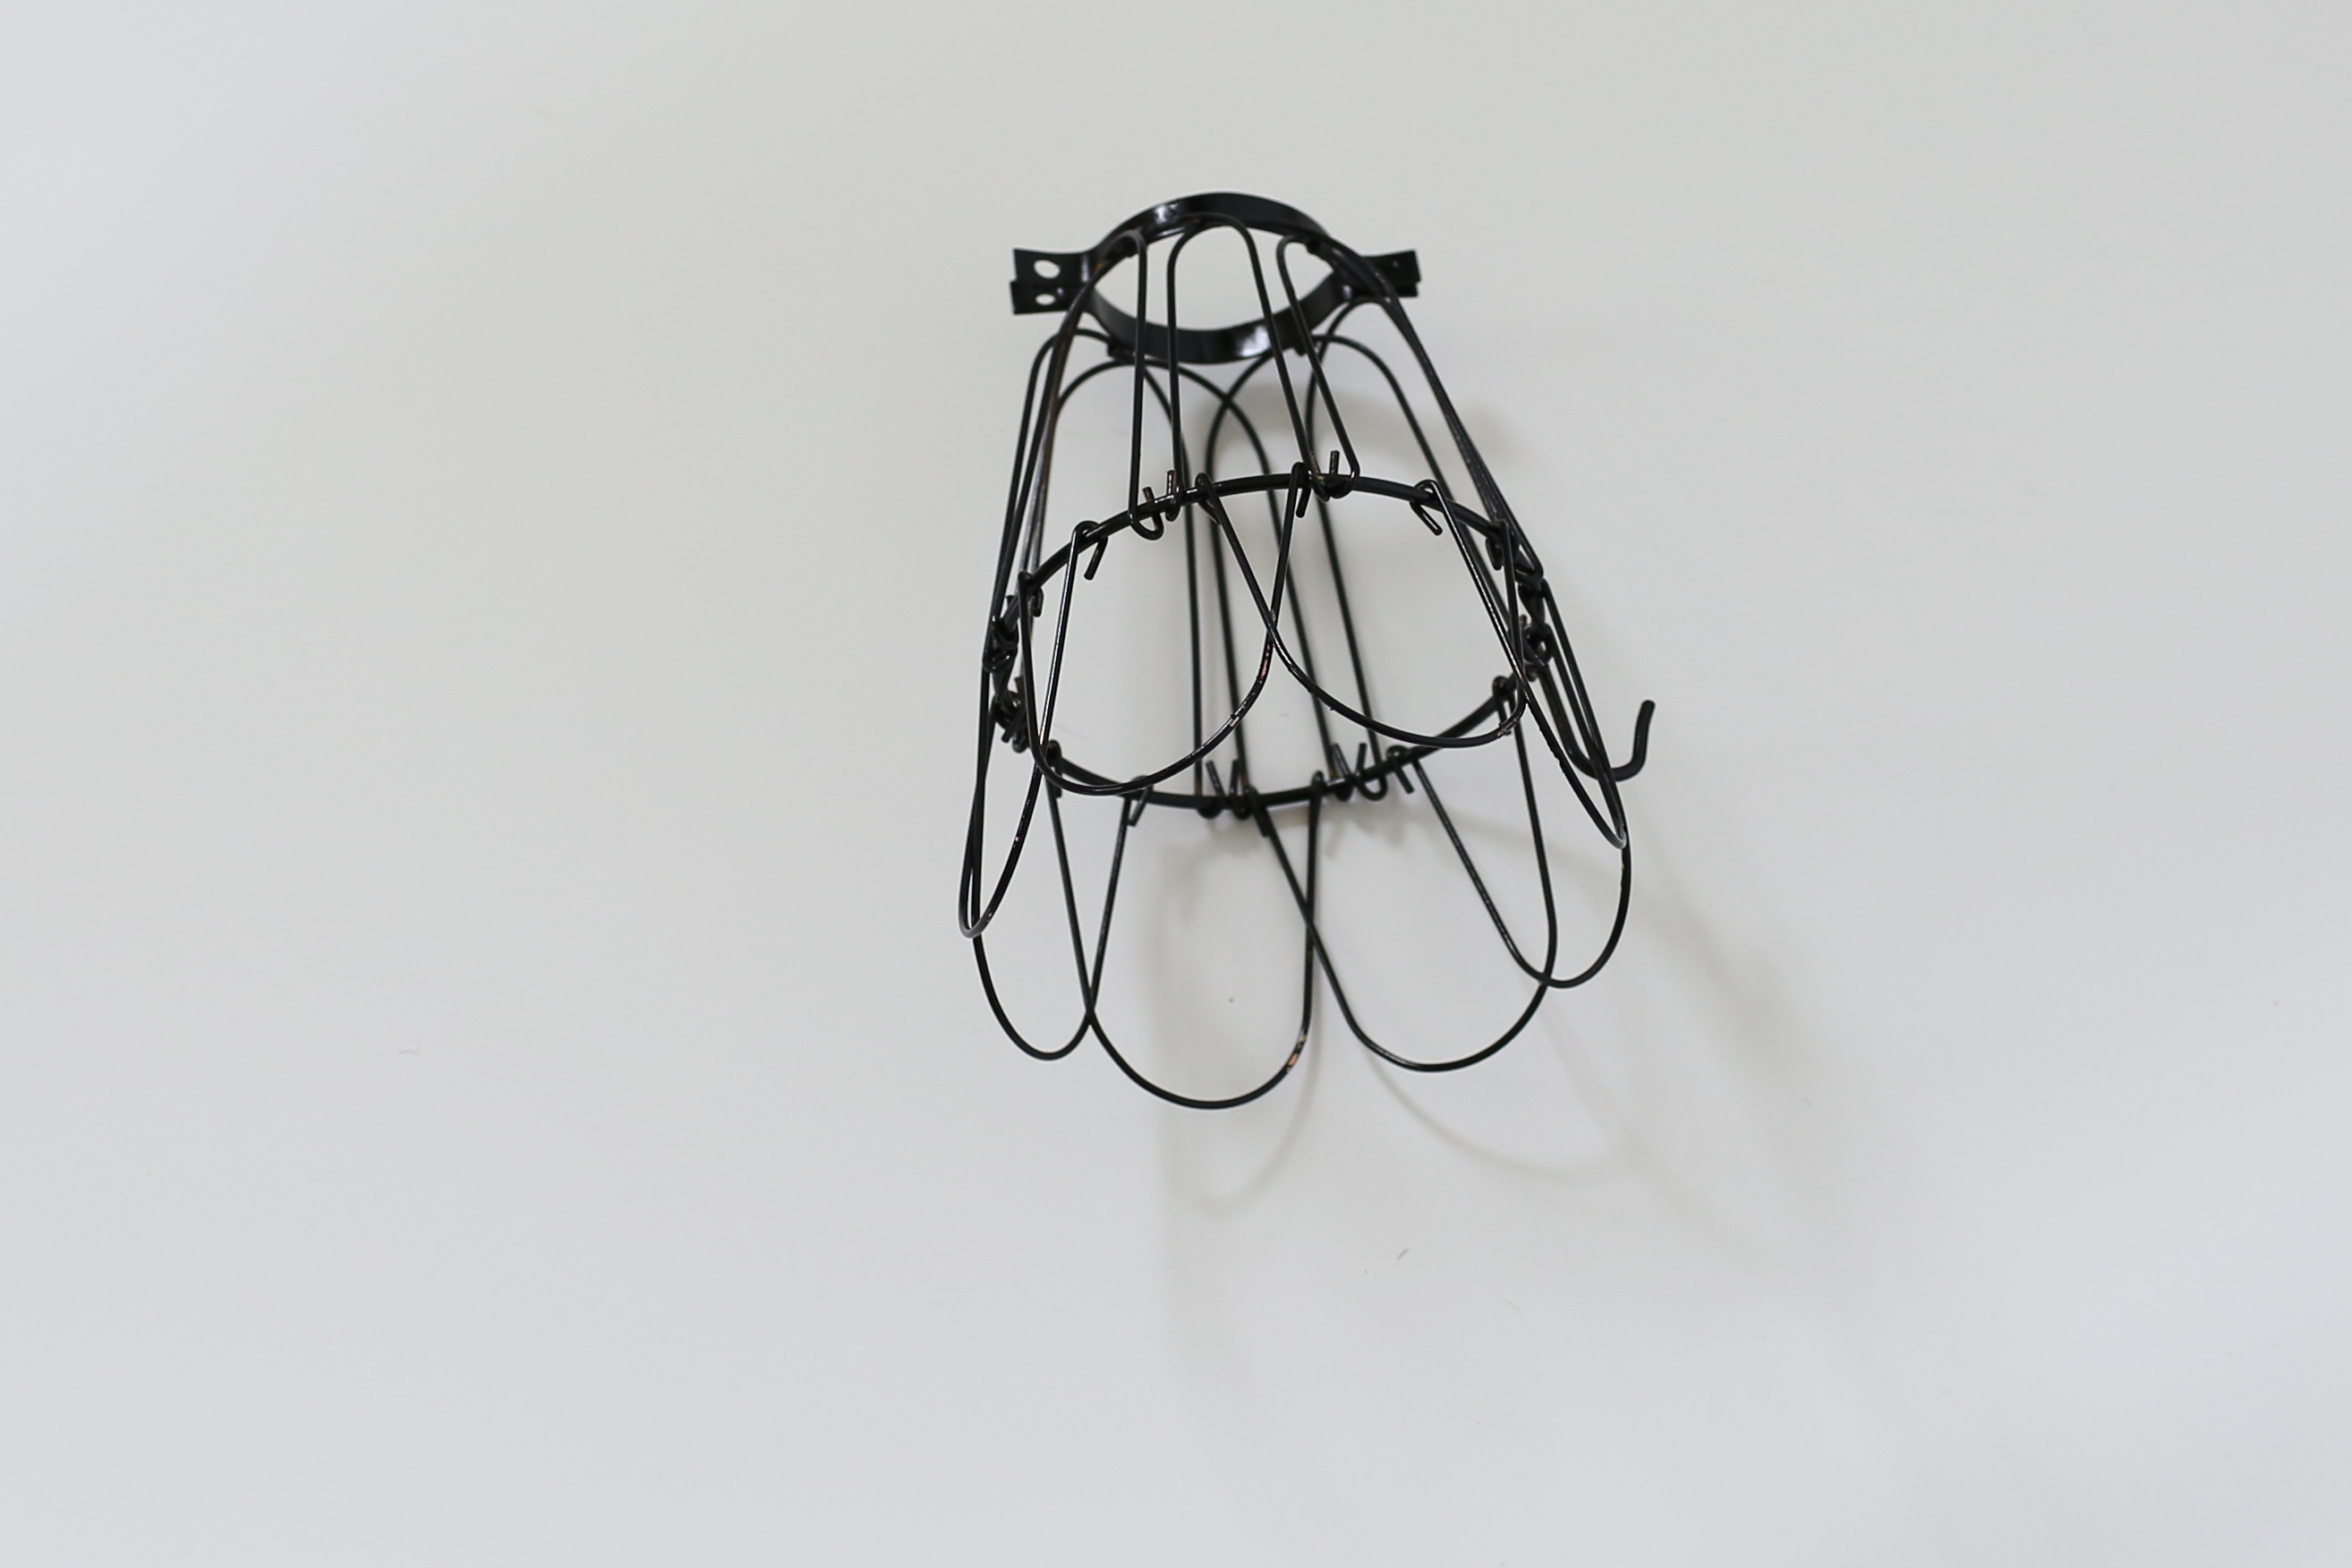
- Black spray paint.
- Edison bulb.
This cloth hanging light is amazing. I stumbled across it on Amazon and they have 16 color choices. {say, what!?} Two of them are even black and white patterns. I kid you not, I want one of every color! They are sturdy and good quality, unlike other similar kits that I have seen.

As for the wooden pieces, if you don't have the right saw to cut at an angle, head to your local lumber yard. I went to our local lumber yard to talk about sizes and saw this piece laying around. It is used to help seperate the wood as it is stored. He cut it and gave it to me for free. For real, I love my small town. So the lesson here is if you don't love using a saw, no fear! That shouldn't hold you back from this project!

Once you have gathered all of your supplies there is only a couple of quick steps and you will have a beautiful reading light.
First, spray paint the light cage black and let dry. {If you want. Maybe you want it to be a different color? Or leave it as is? Make it your own!} After it is dry you can put it on the end of the cloth cord and use the two screws to tighten and keep in place.

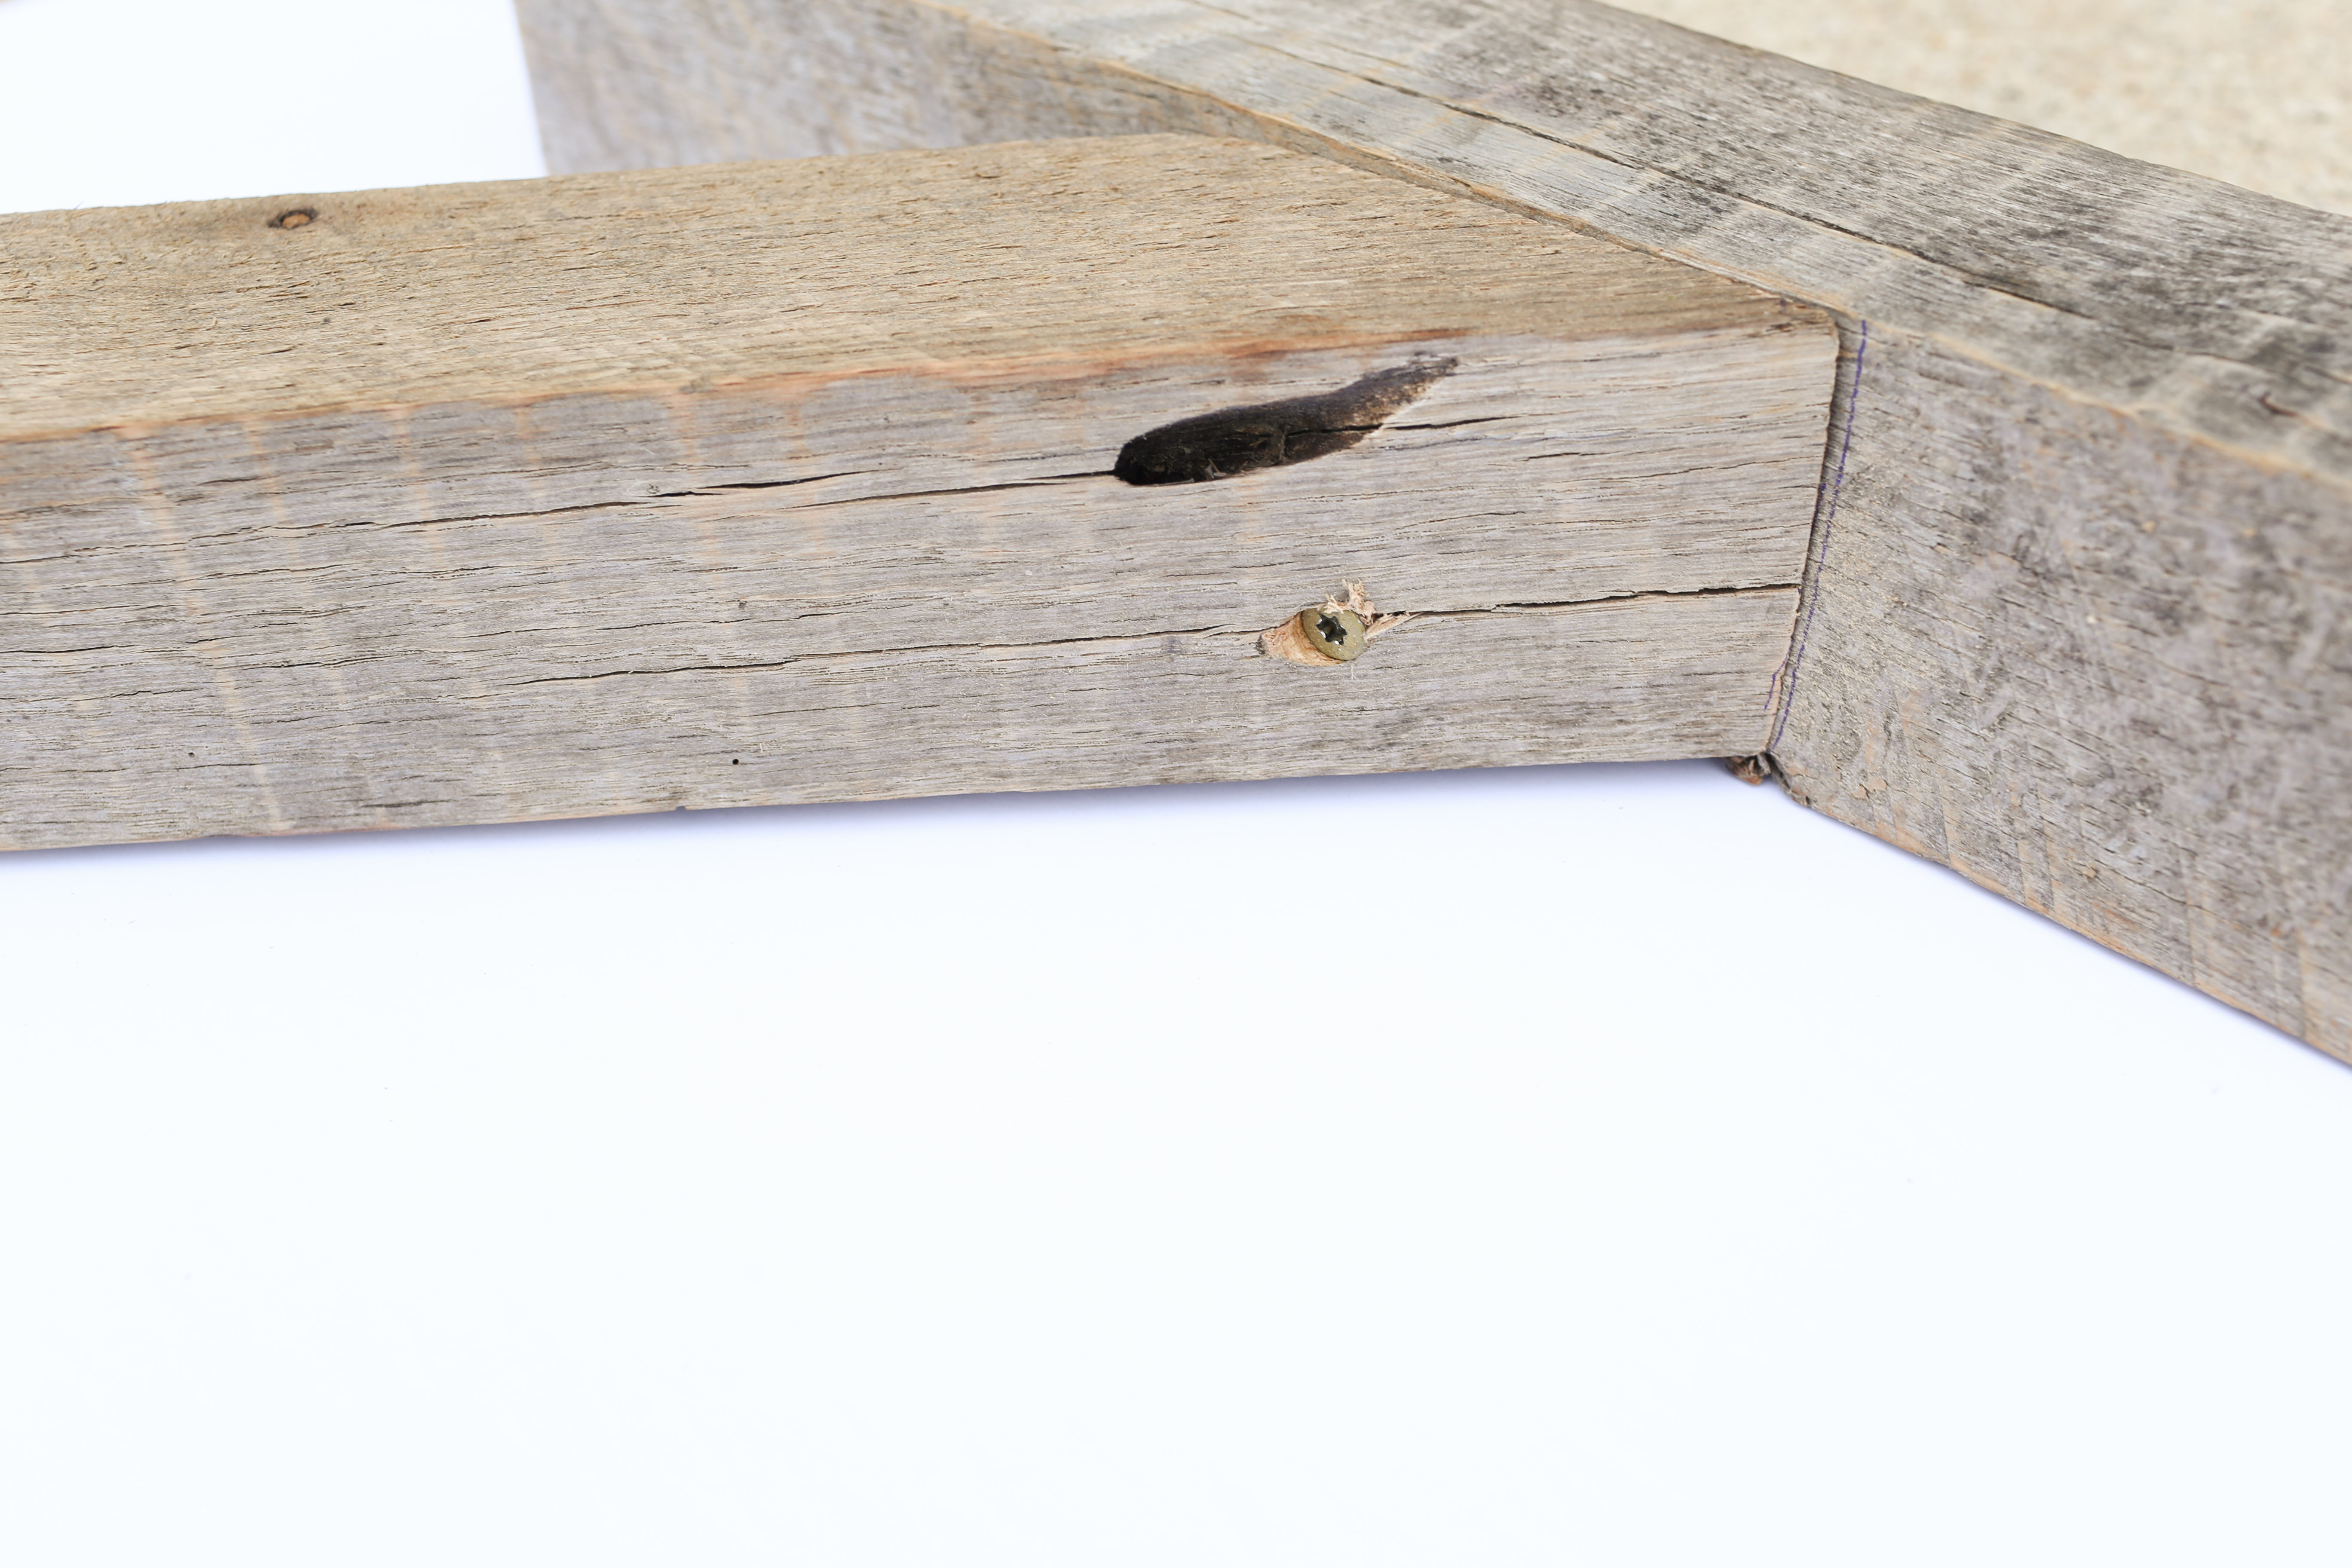
Second, Screw the two pieces of wood together as shown below.
Third, if desired paint, wax or stain the wood. I took Miss Mustard Seeds Furniture Wax to my wood. First I rubbed on a layer of the antiquing wax, and then I went over top with a layer of the White Wax. The result was wood that had a gray tint too it, which I love! I've been eyeing some of the gray wood tones on Restoration Hardware for a long time and now I've created the same look for only a couple of dollars. Please allow the wood to completly dry before mounting and wrapping your cord. You don't want the paint/stain/wax to rub off on your beautiful cloth cord.
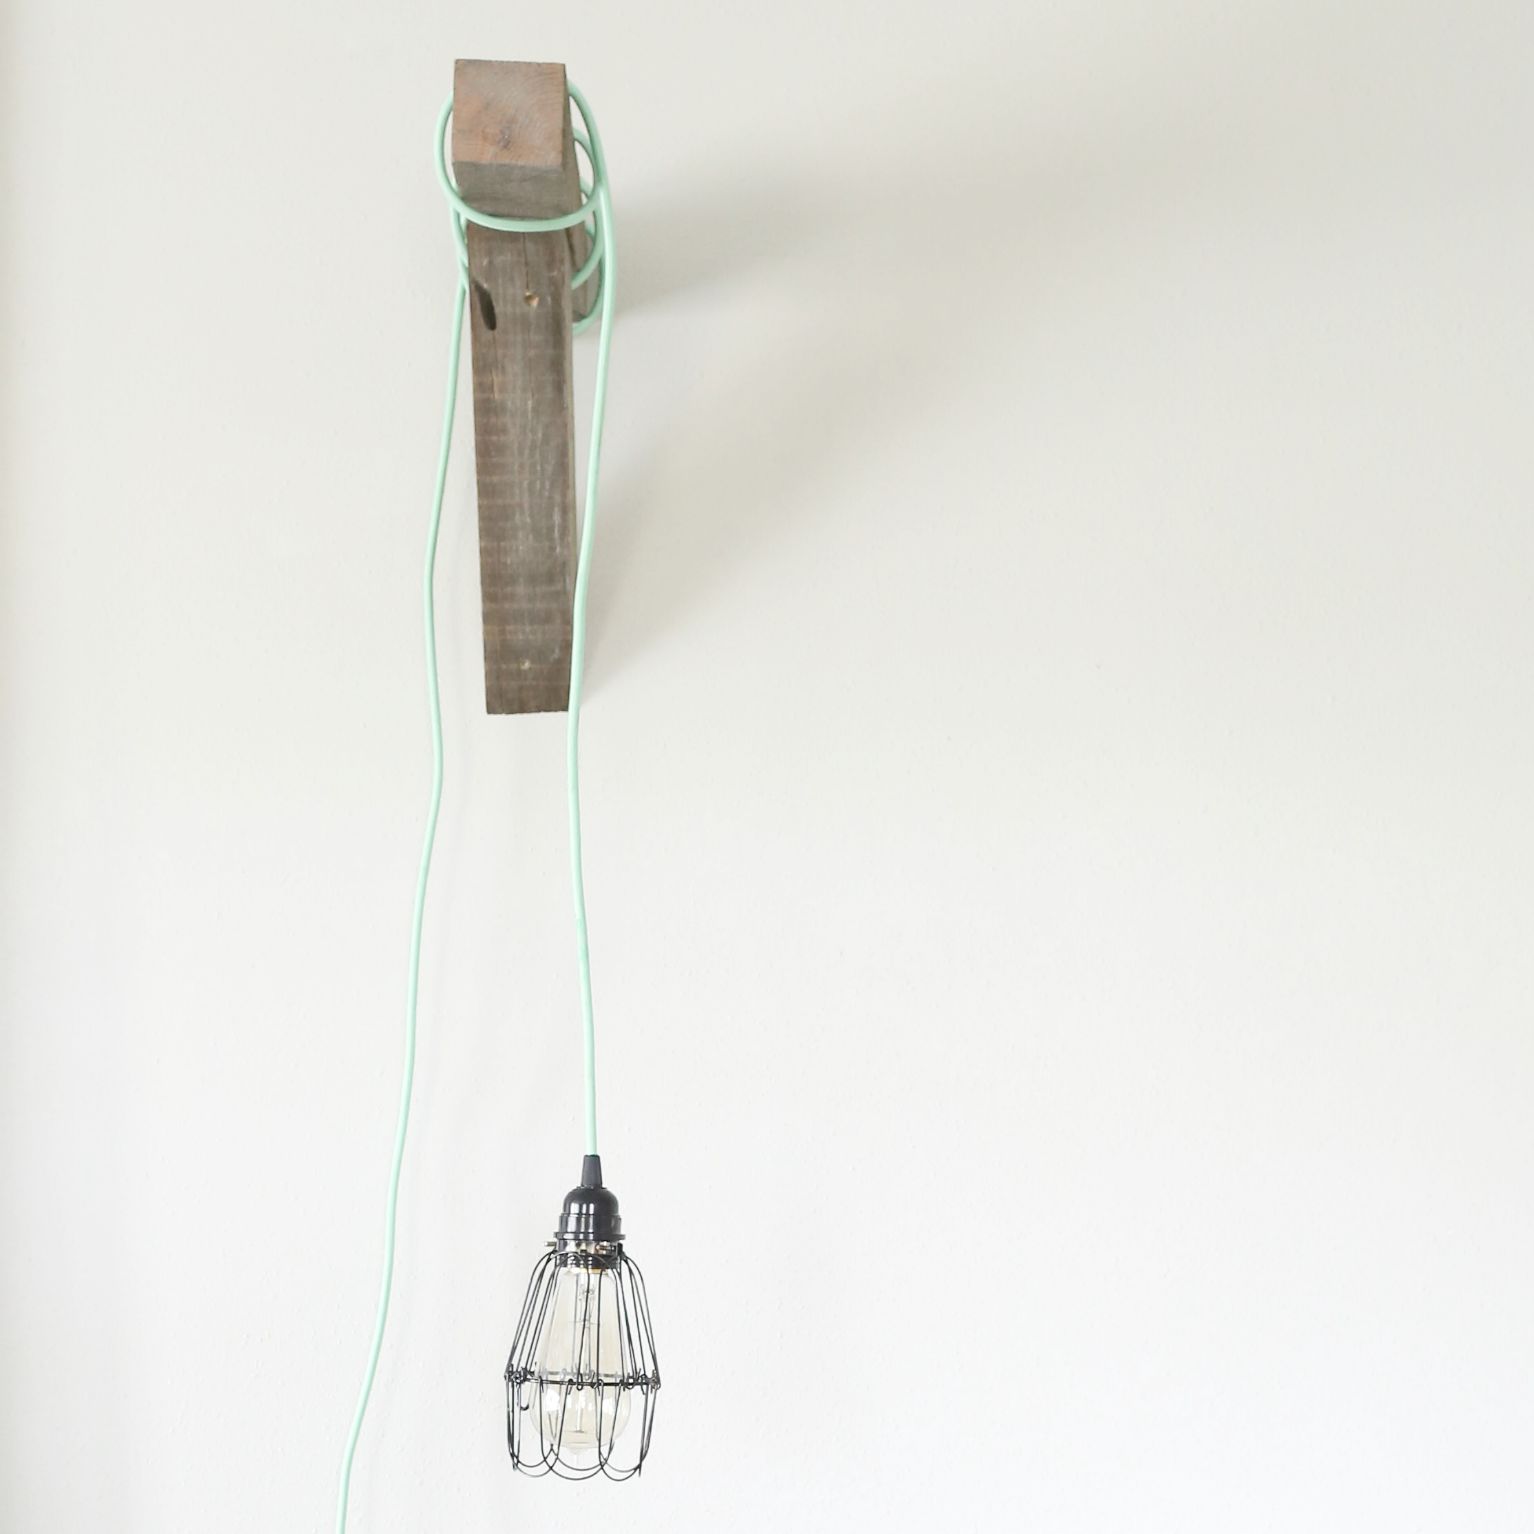
Fourth, mount the wooden beam to the wall. We pre-drilled a hole through the top beam and through the bottom beam, then screwed the beams to the wall with an extra long drywall screw.
Finally, wrap your cloth cord around the wooden beam a couple of times, and allow it to hang to your desired length. Screw in your light bulb, plug in and turn on!

I'm creating a second one to put on other side of my extra large pallet art. So, so excited to see it all together!
What are your thoughts on the modern farmhouse reading light? I would love to know which color of cloth cord is your favorite. I honestly love them all!
Happy creating friends,

P.S. If you love this post please share on social media! And don't forget to sign up for our weekly newsletter full of more great projects like this one!
So cute and looks pretty easy! Thanks for sharing.
Thanks! It really is easy to create!