Are you prepared for the most complicated and long winded tutorial of all time? {Please tell me the sarcasm came through in that sentence?} Today we kick off spring with a great DIY that requires as little as 30 seconds and two supplies.
supplies needed: faux wooden Easter Eggs and a sharpie
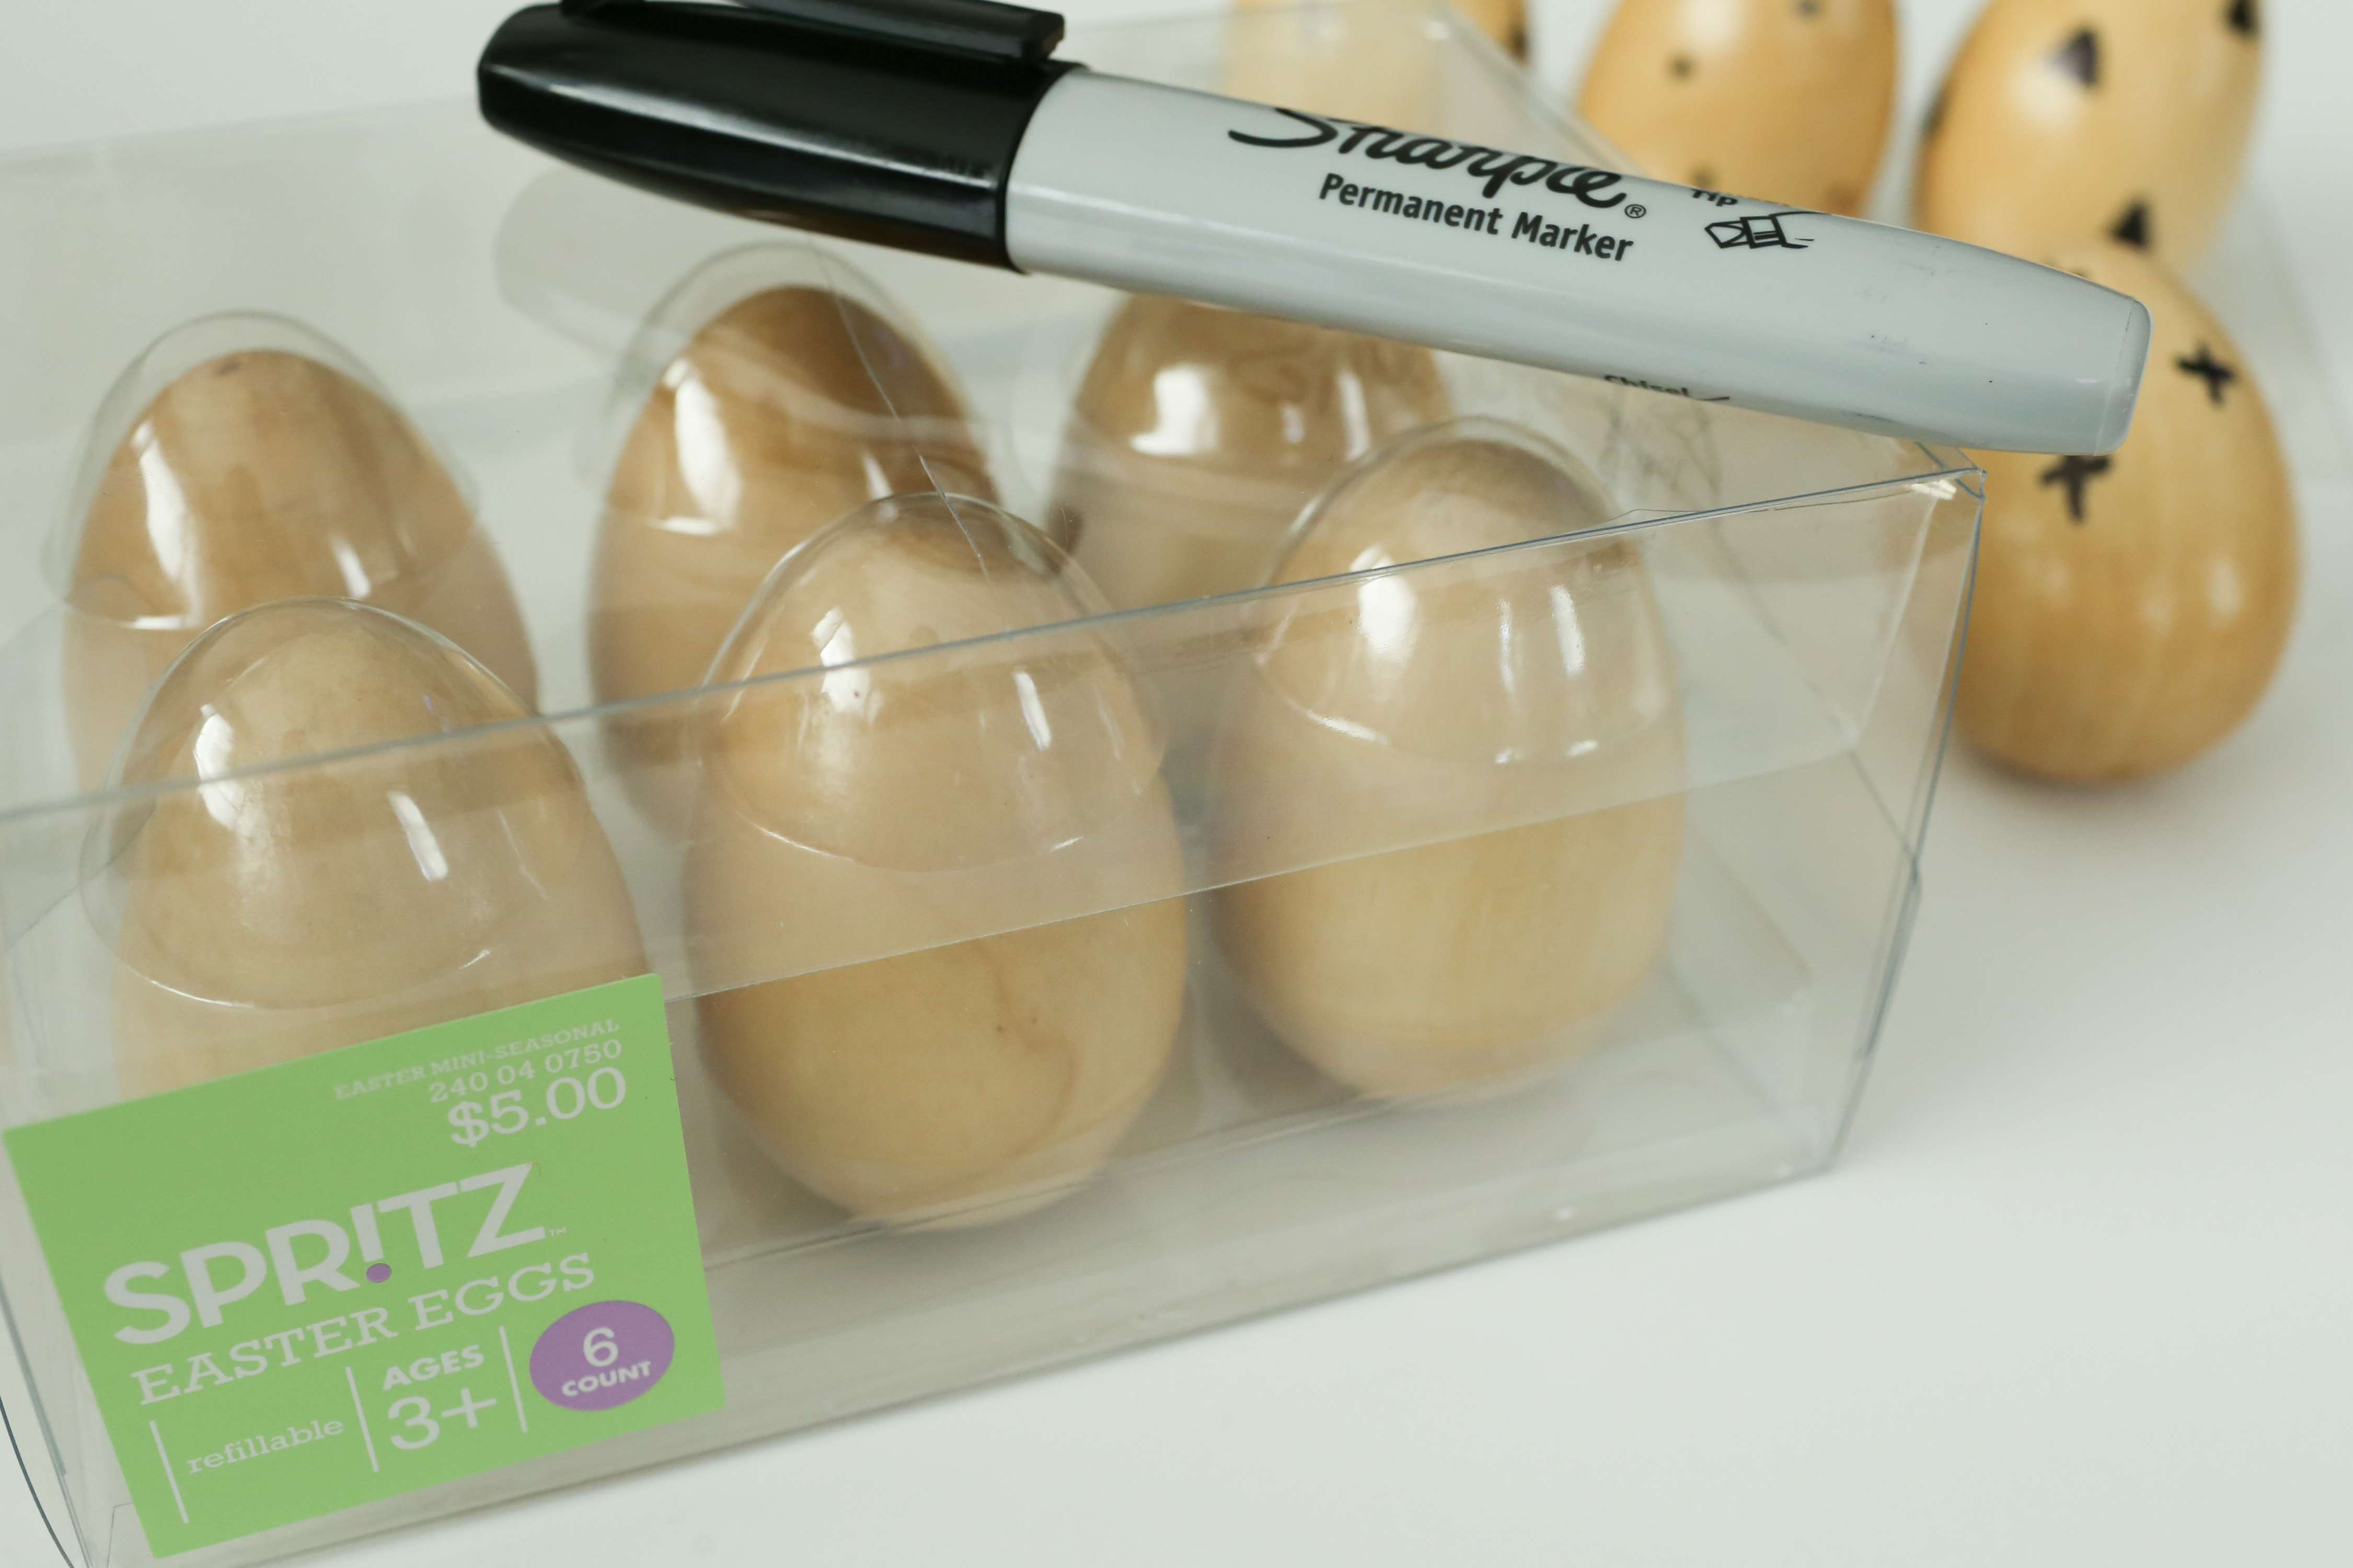 I found these fabulous faux wooden eggs in the Easter section at Target. You could use any faux egg that you want. Just be aware that basic plastic eggs, the kind that you fill with candy, may not be the best choice. I'm seeing smeared sharpie all over hands and fabric if you use a thin plastic egg for this project.
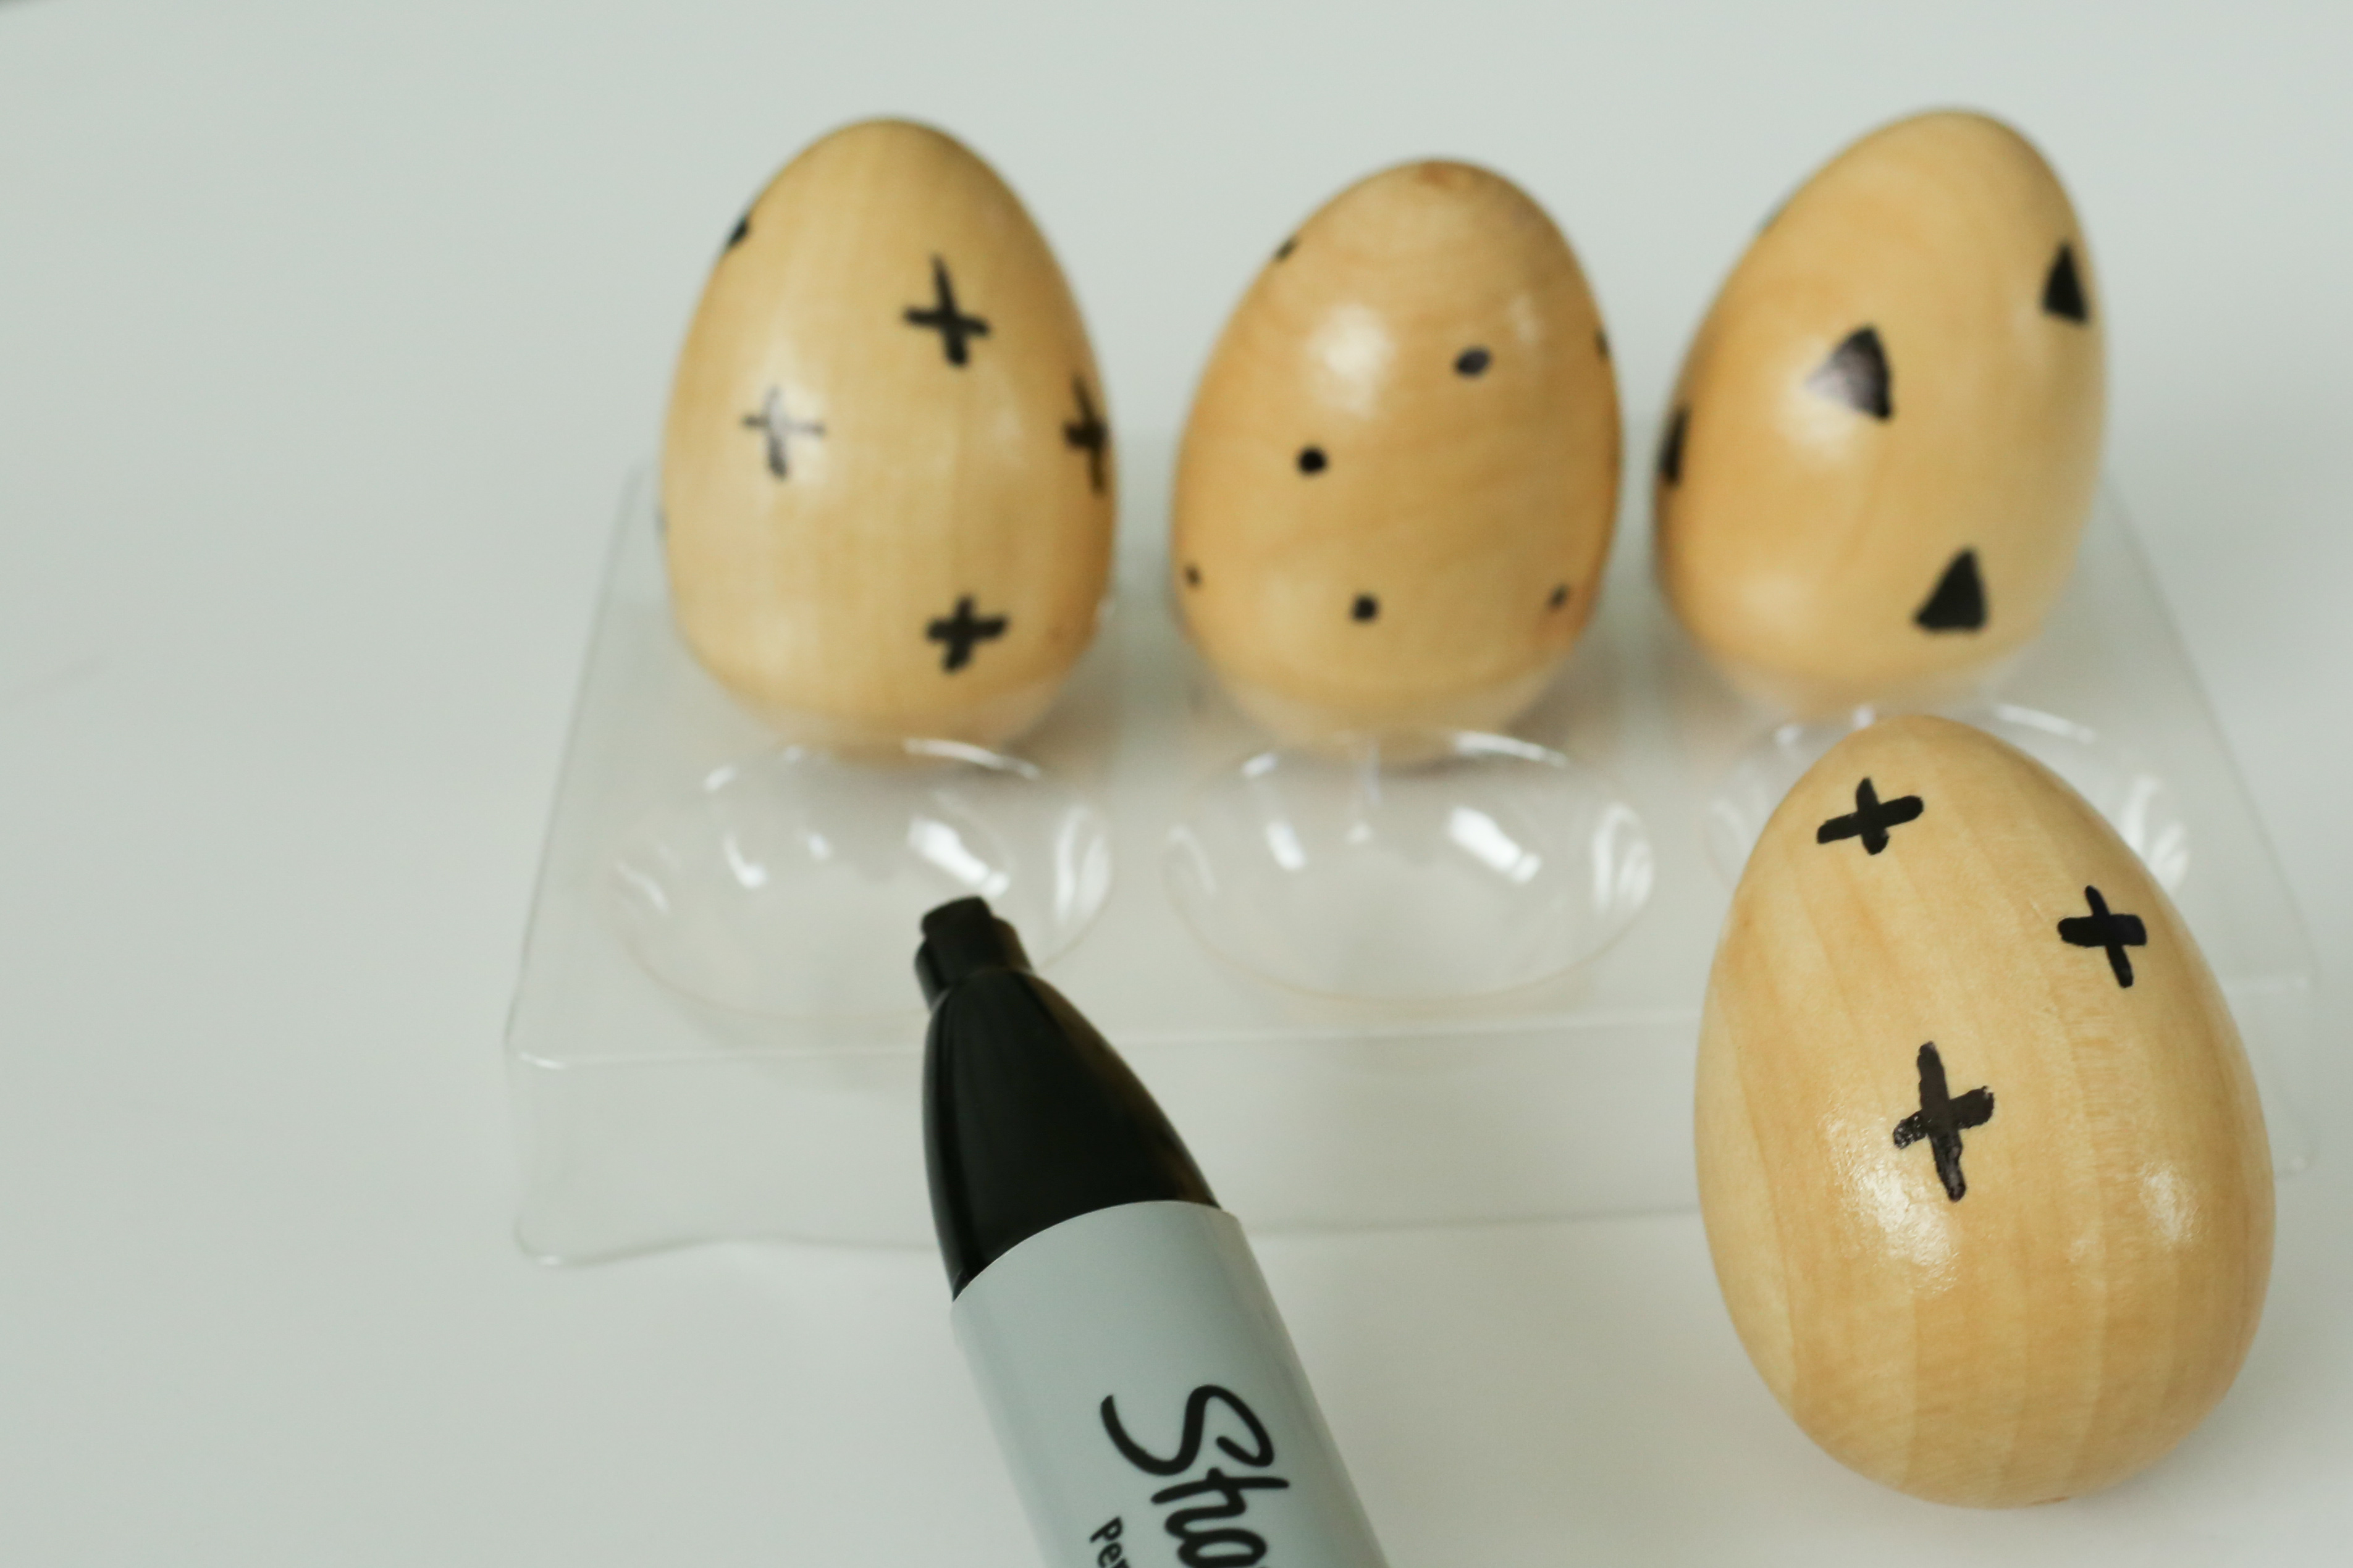 To create these modern looking Easter Eggs simply draw your pattern with a Sharpie and let them dry. I decided that I wanted a clean look and rotated between dots, plus signs, and triangles. I can't help but think how fun a beautiful floral print would be on these eggs. Someone with a steady hand give it a try!
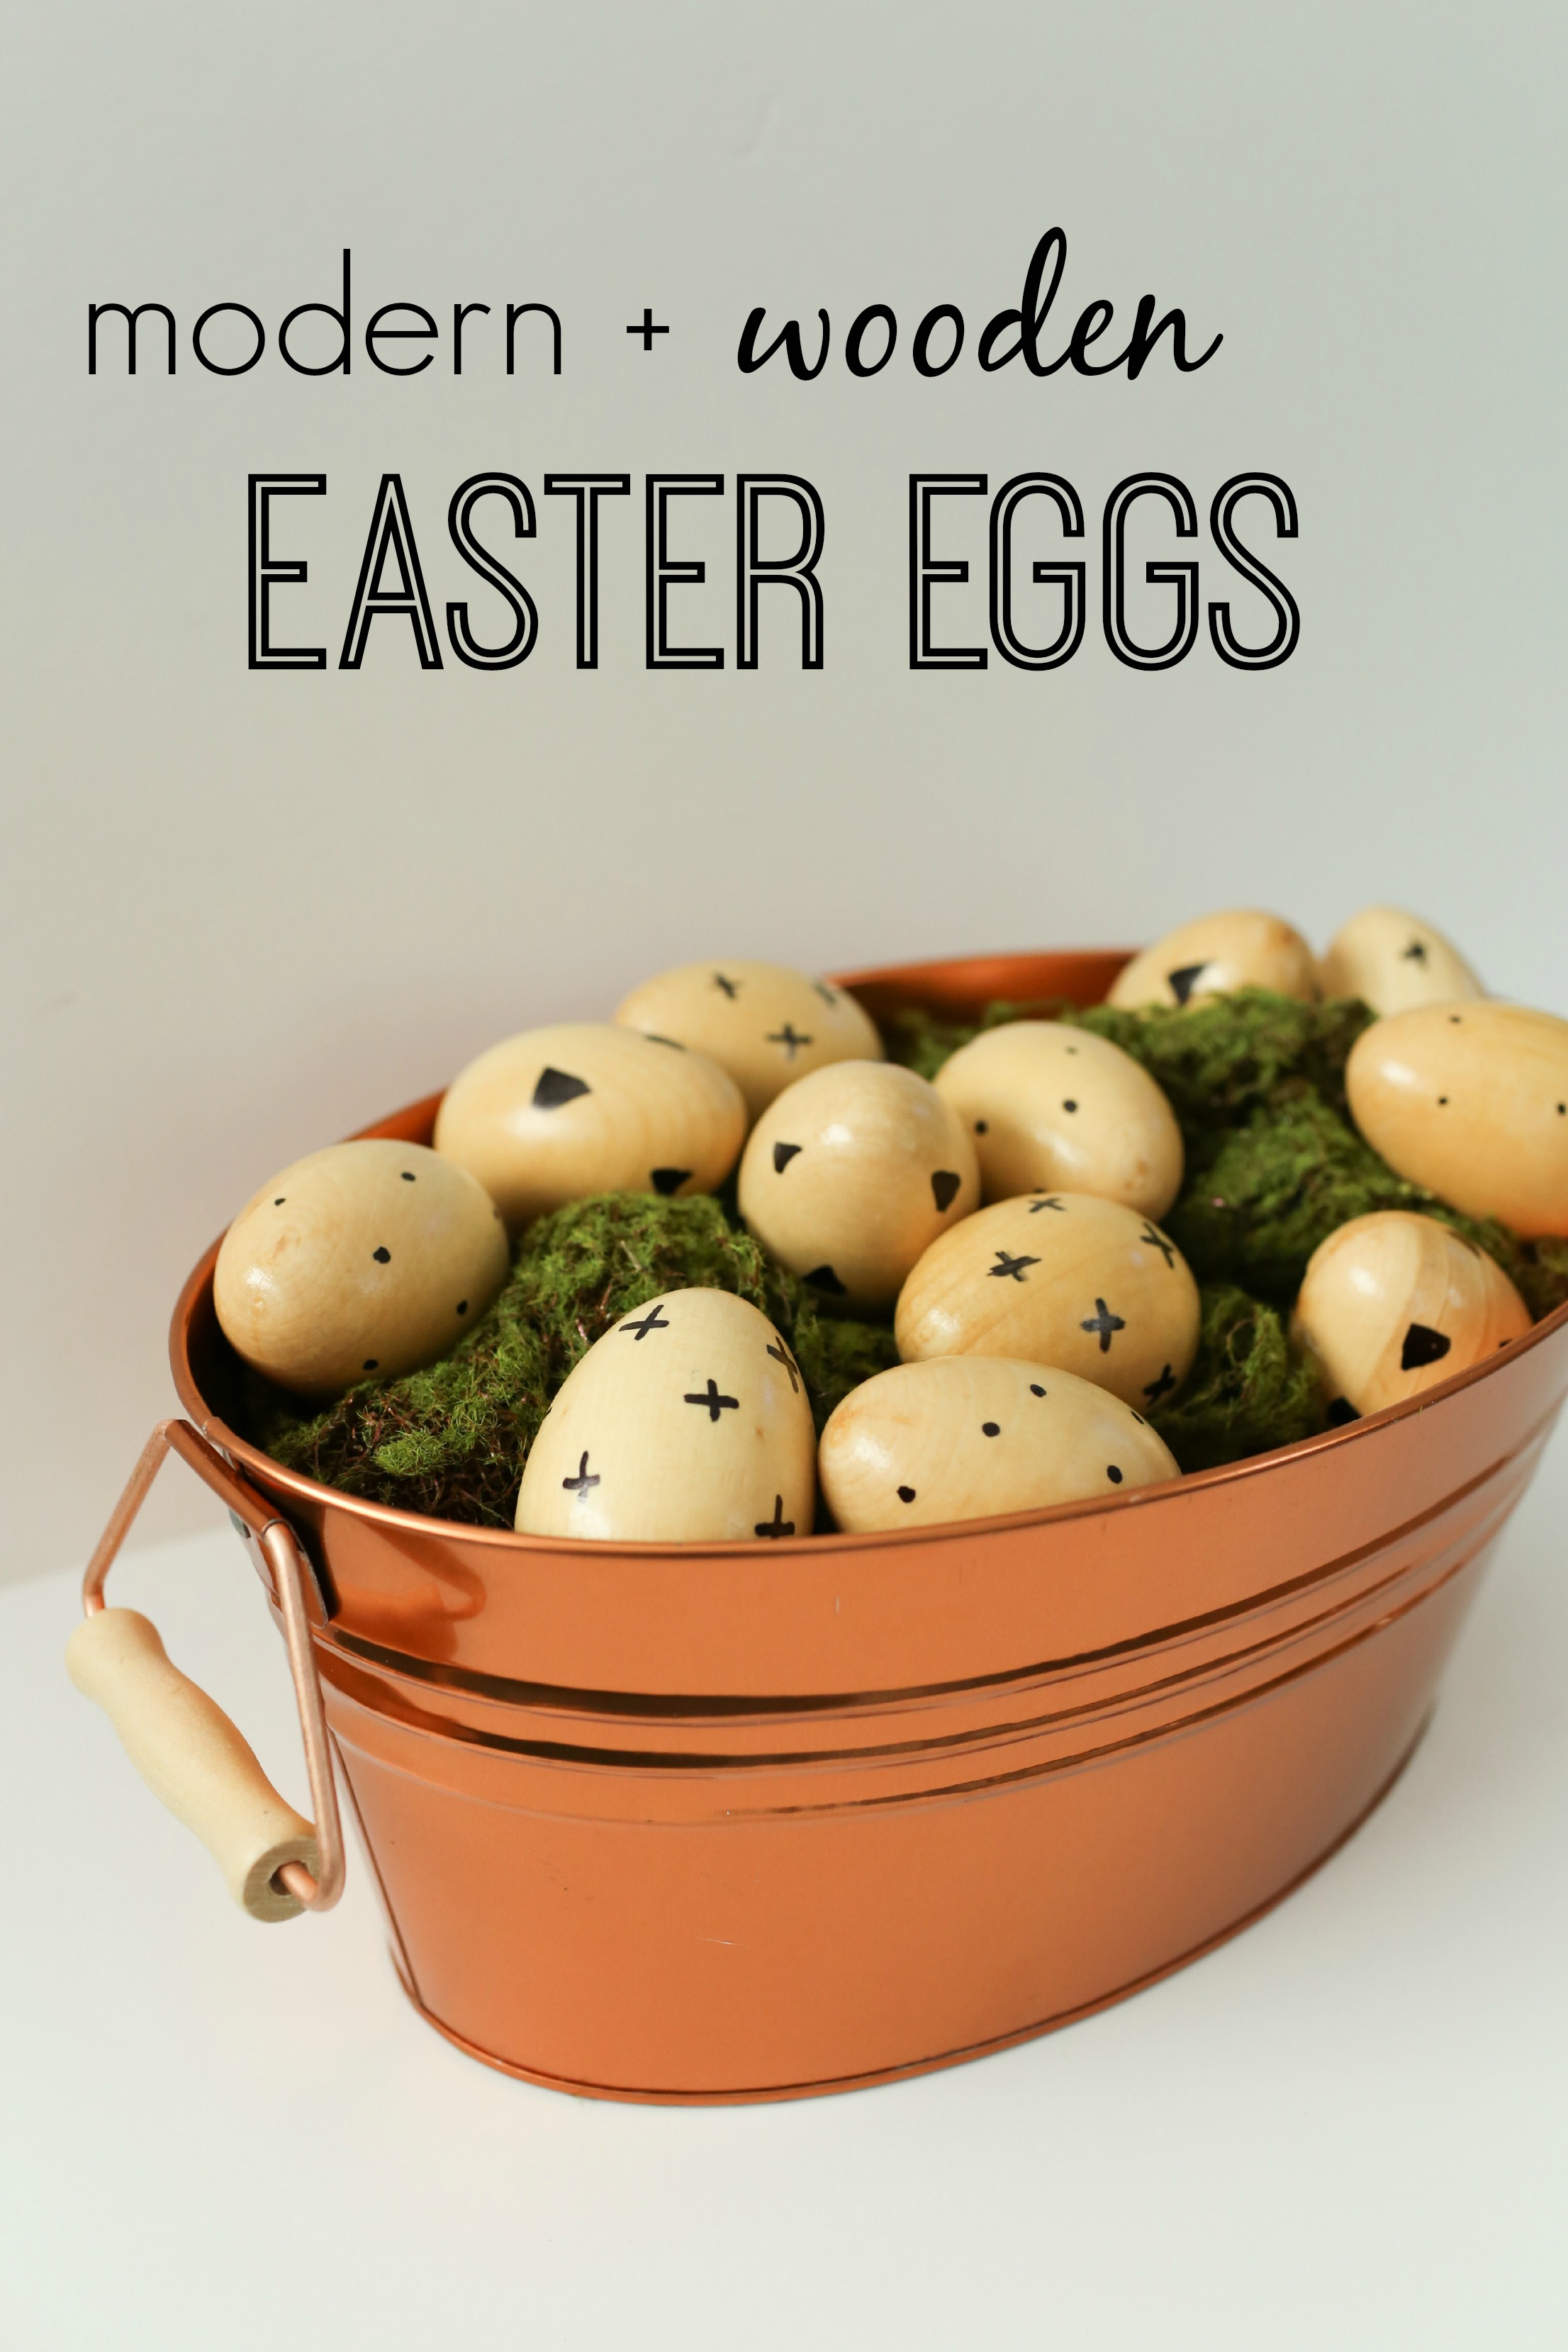
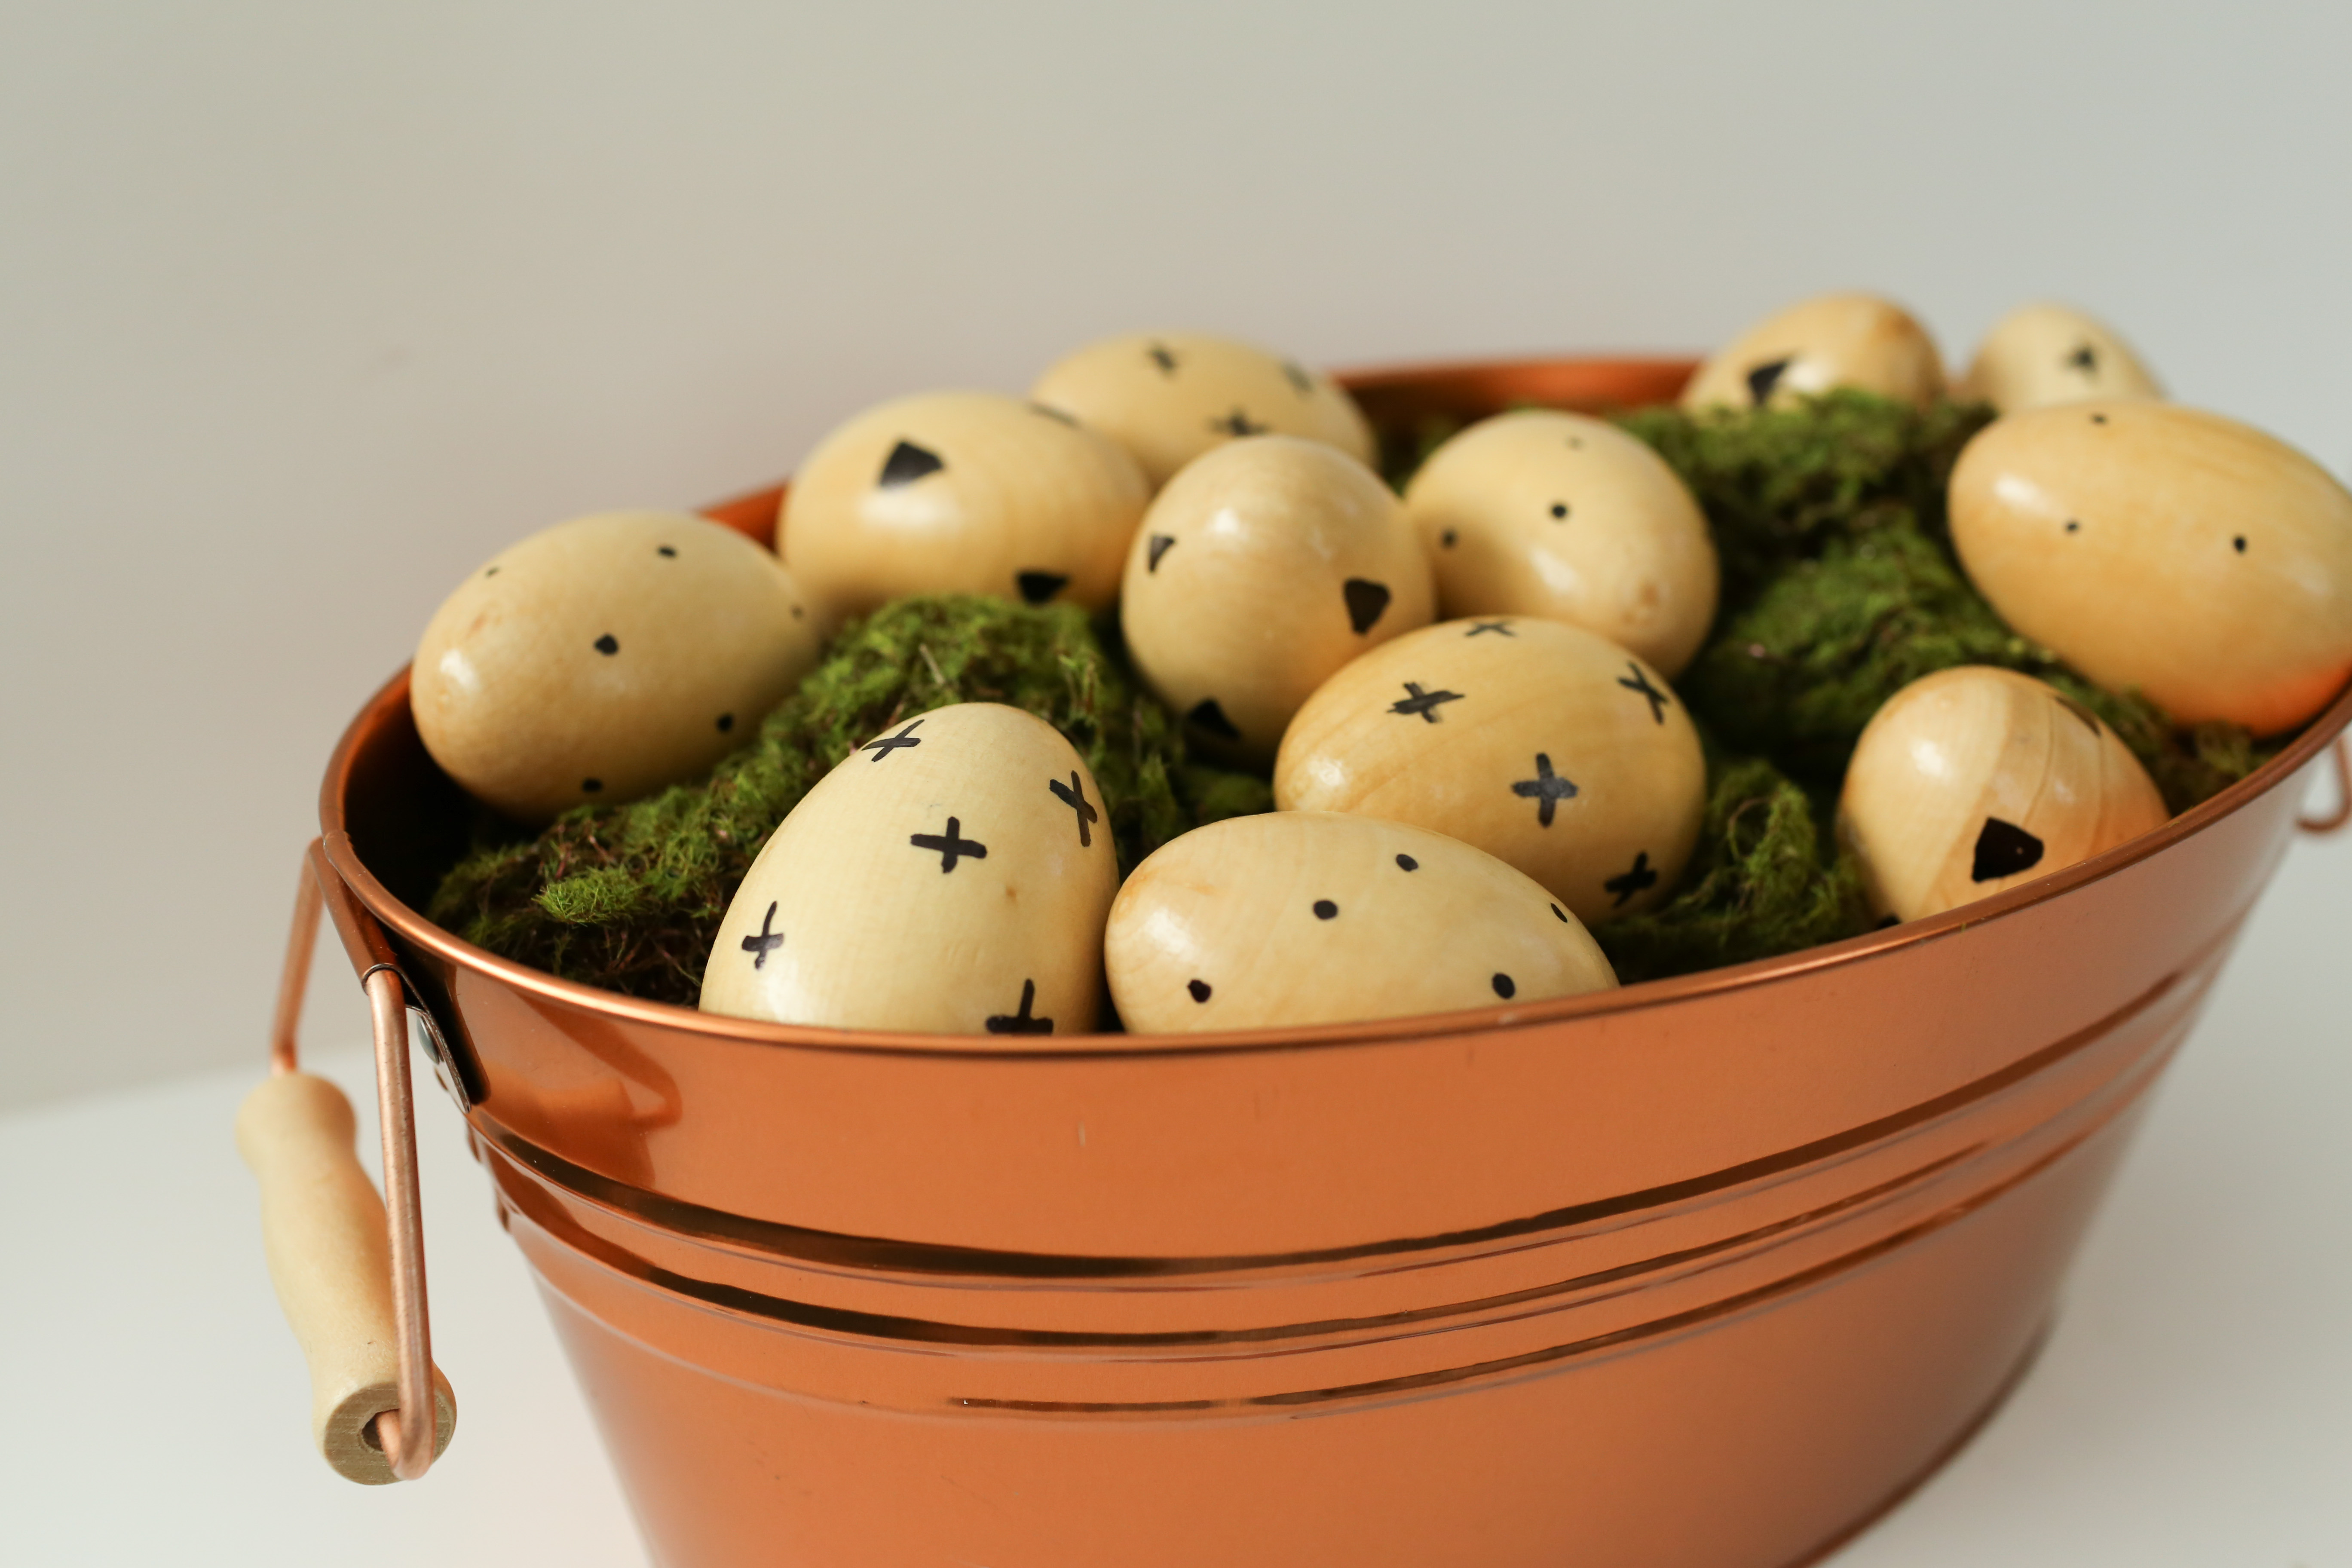 After they dry you are ready to display your work! Mine are in a copper bucket {Target dollar spot for the win!} stuffed with paper, and then a layer of faux moss on top.
 What are some of your favorite ways to decorate for Easter? I would love to hear your great ideas in the comments below!
Happy doodling,

These are cute! I love seeing all the different ways people share how to decorate Easter eggs! I’m diggin’ the modern look here and love the copper basket too! Thanks for sharing with us at SnickerdoodleSunday! Pinned and tweeted to share.
~Laurie
These are so easy and fun! They look fantastic! Such a great idea, Becky! Thanks for linking up to the party this weekend!
These are surprisingly cute! Love it! Thanks for sharing on our Throwback Thursday link party last week and I can’t wait to see what you have for us this Thursday!
Mollie
What a neat idea, Becky! I found the same easter eggs (and a chalk version too!) at Target and now that I came across the tutorial, I’m definitely going to stock up. Thanks so much for sharing such a simple and creative idea with us on #SHINebloghop last week 🙂