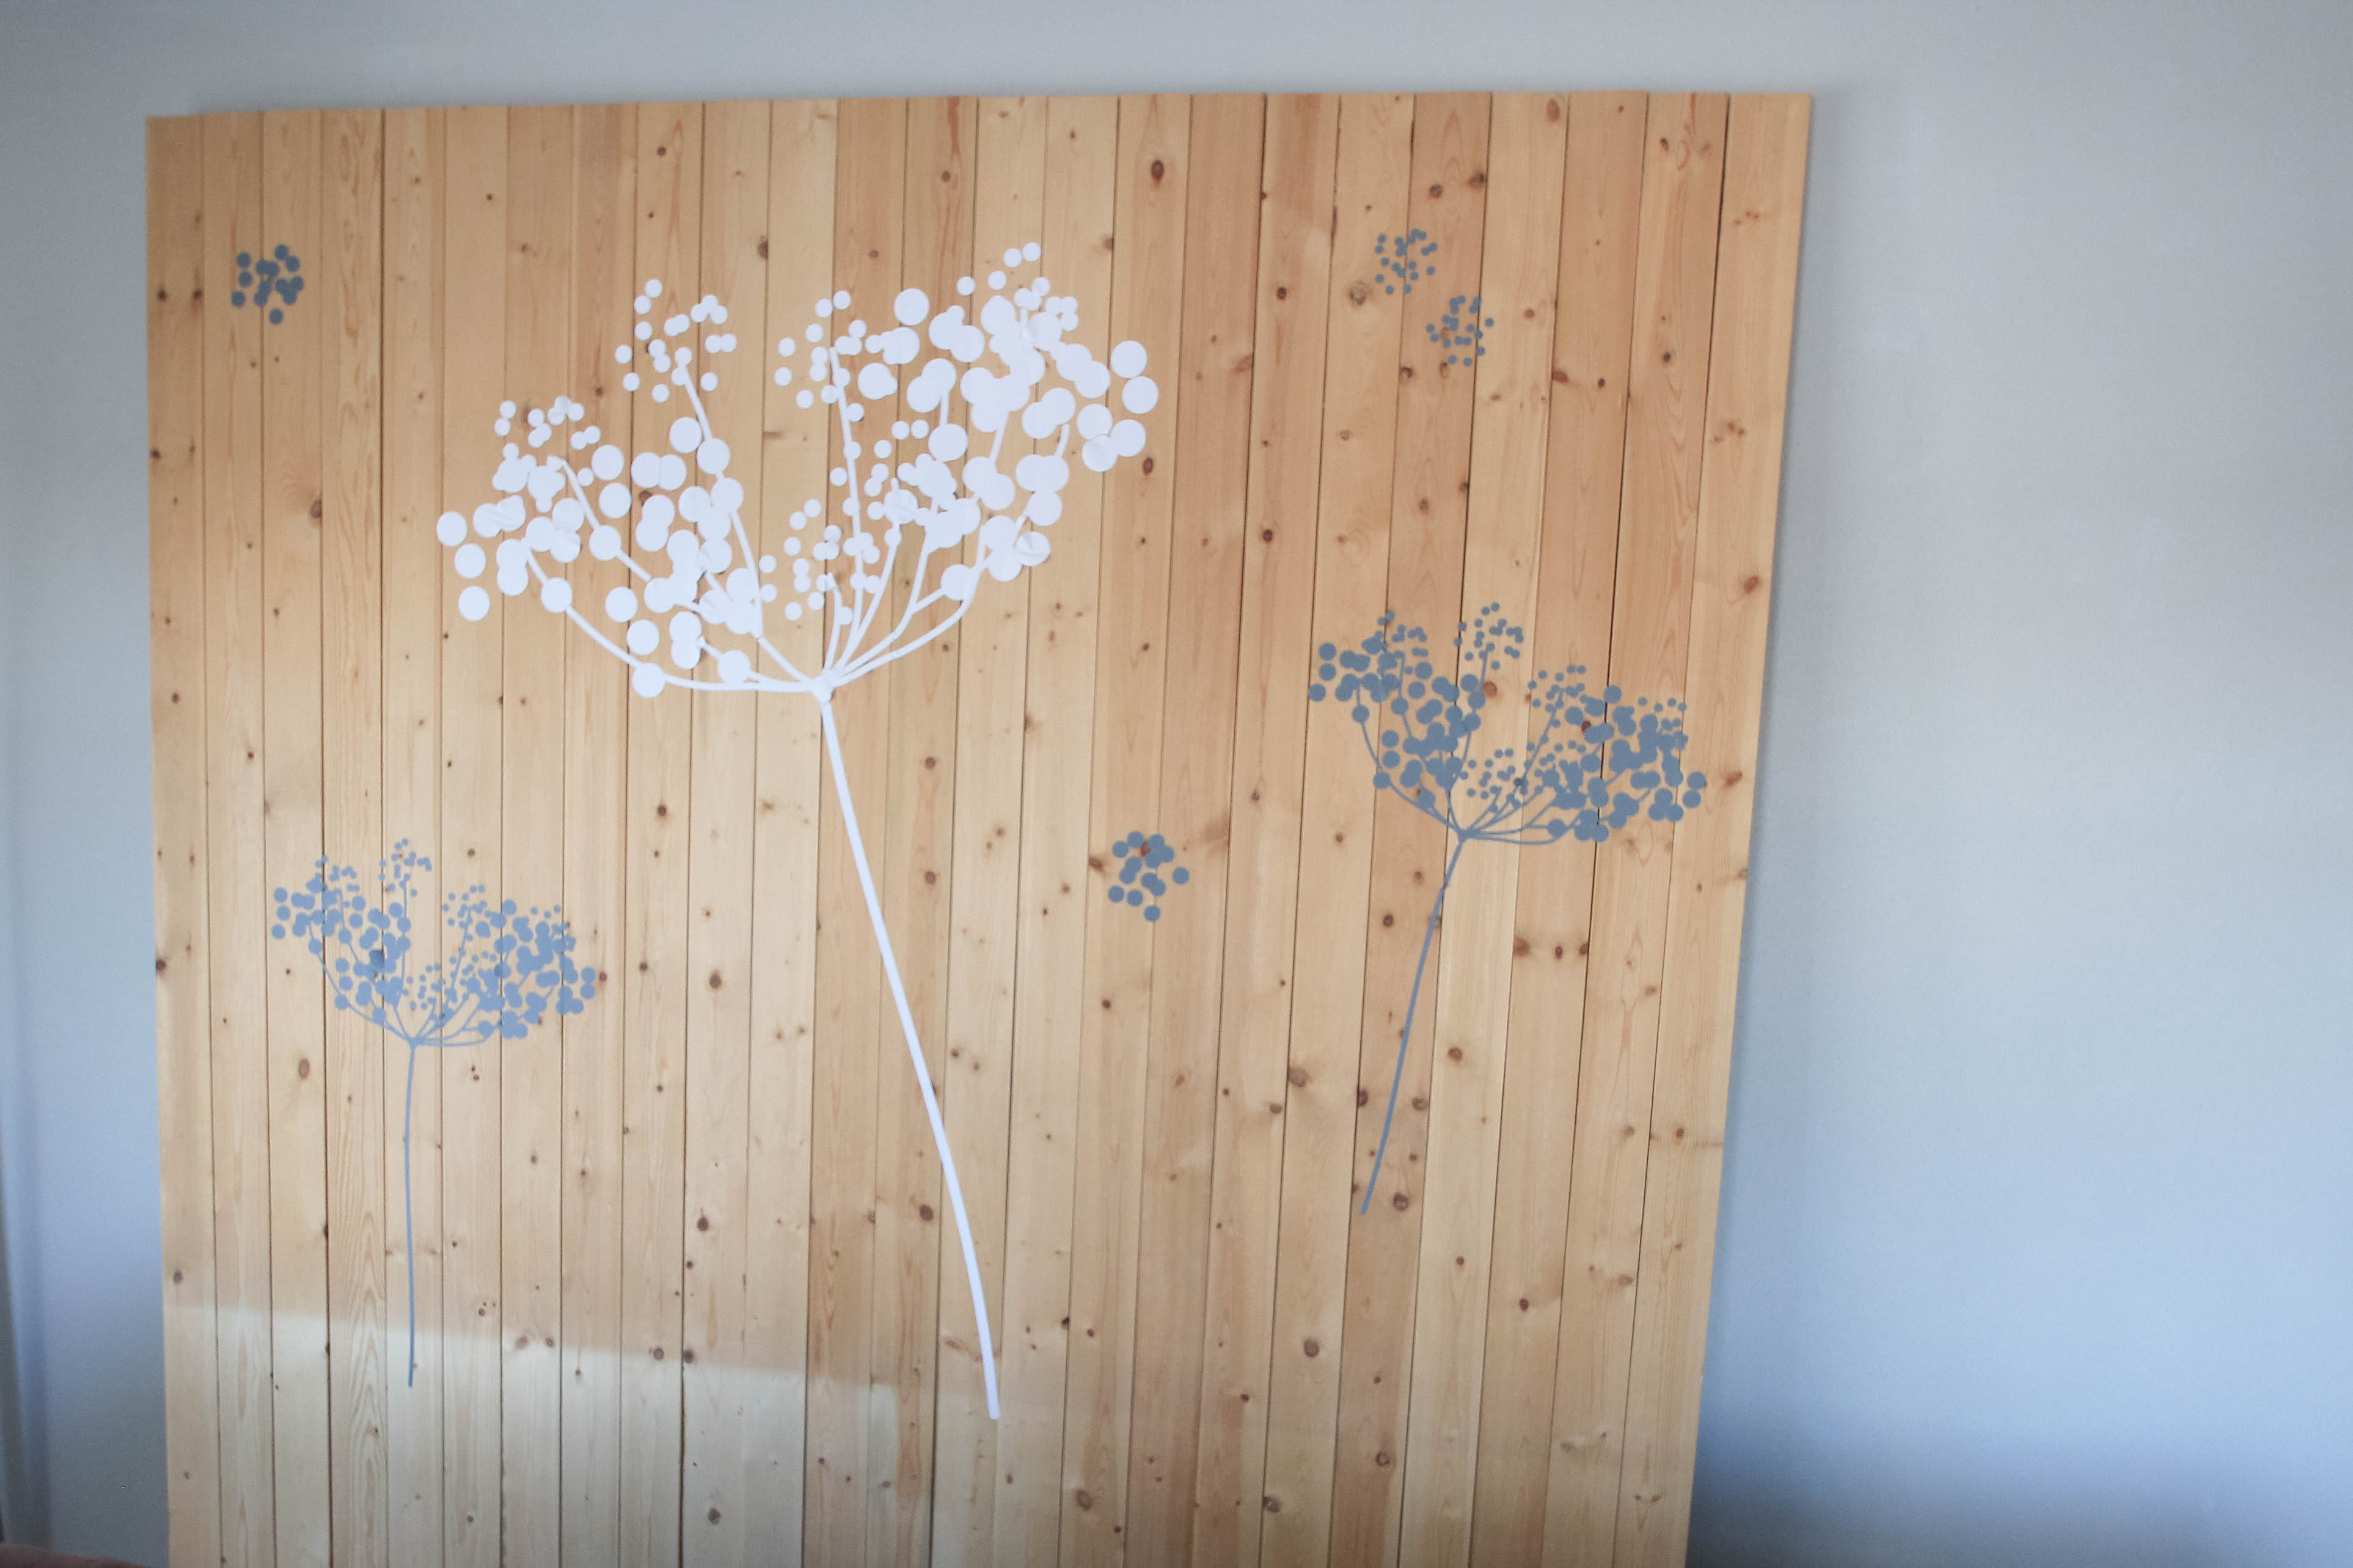
Today’s tutorial is all about taking new wood and making it look beautifuly old. I have been obsessed with whitewashing wood since I got the itch to paint everything white. It gives me a sense of calm in the midst of a busy house. So I decided to start by painting an extra large pallet that is in our home. I love this pallet, it is a large statement piece on a little budget. But I finally decided it was time to update it and give it a new look. Enter the whitewashing.
UPDATE: If you love the look of the whitewashed wood you have to check out these architectural pieces that I found buried in a barn, and how they looked after I whitewashed them!
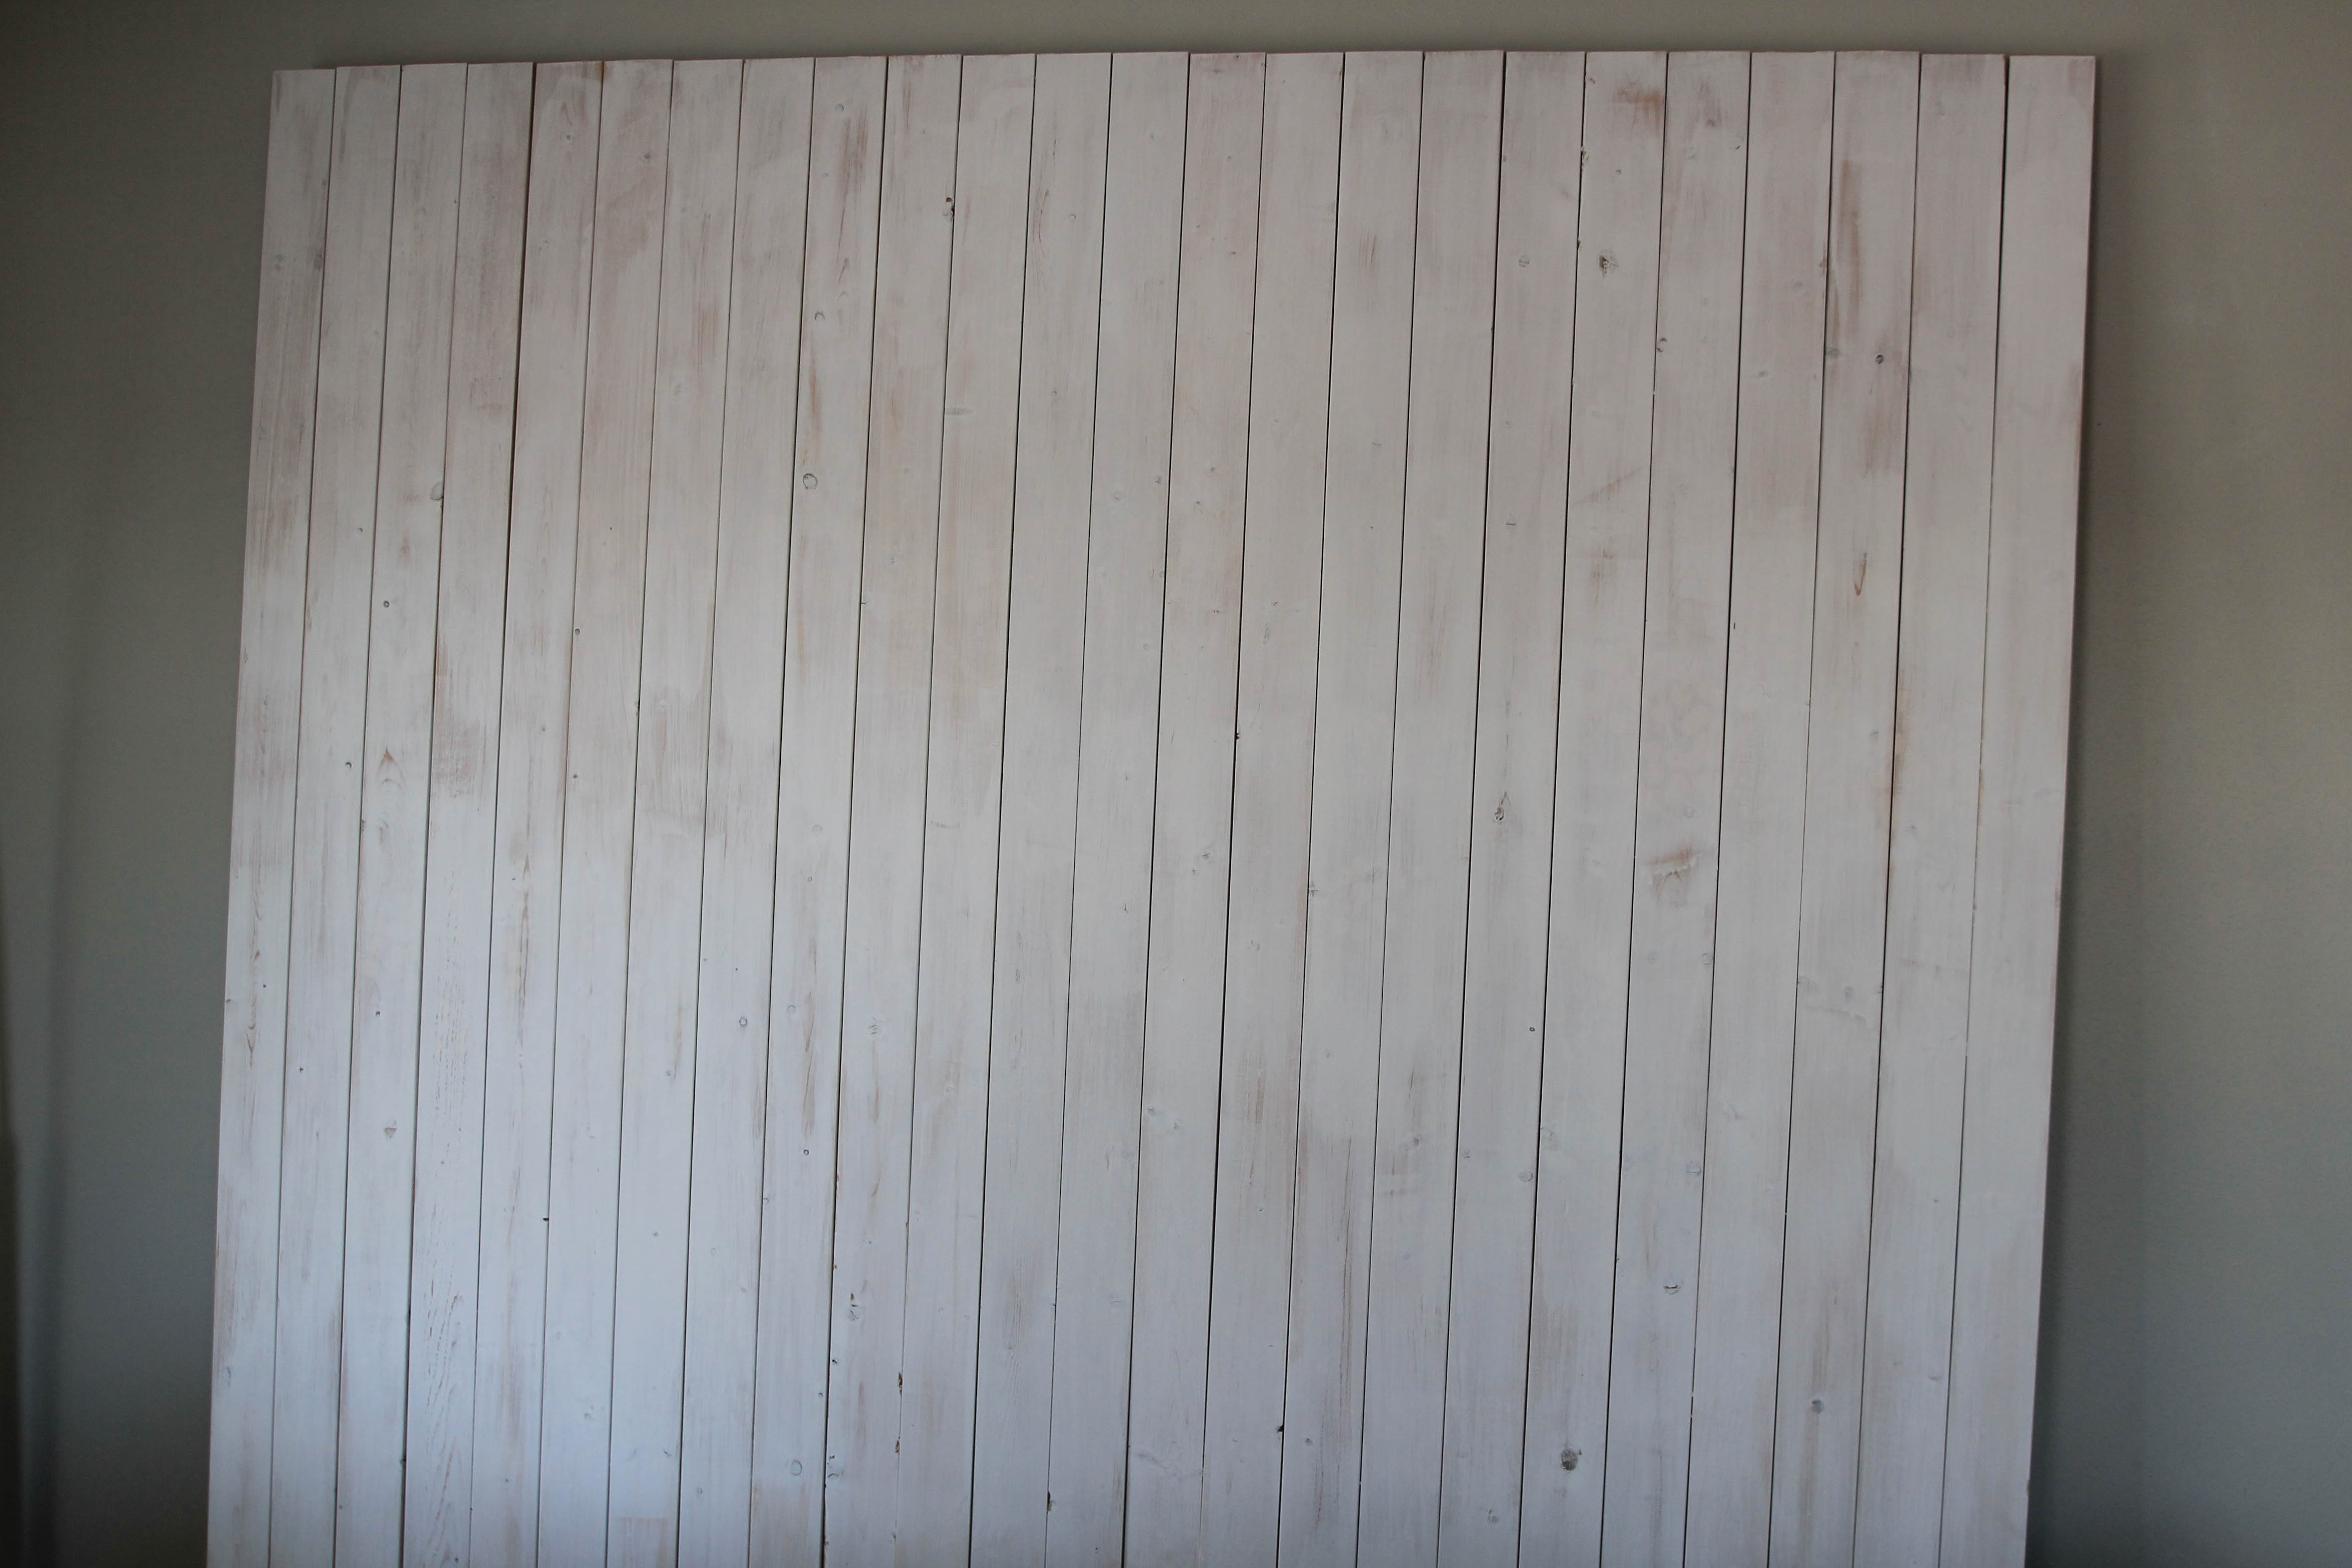
Before beginning this project I snapped a picture of the pallet. Over a couple of years the huge decal had slowly started to peel off {I’m guessing that is in part because it wasn’t on a completely smooth surface}. After removing all of the decal, which was the hardest part of the project, I found the pallet to be someone stained from the sunlight and a pattern of the decal was left behind. This means that I had to whitewash the pallet a little darker than I had originally intended. But I am still excited about the results and am dreaming of new things to white wash.
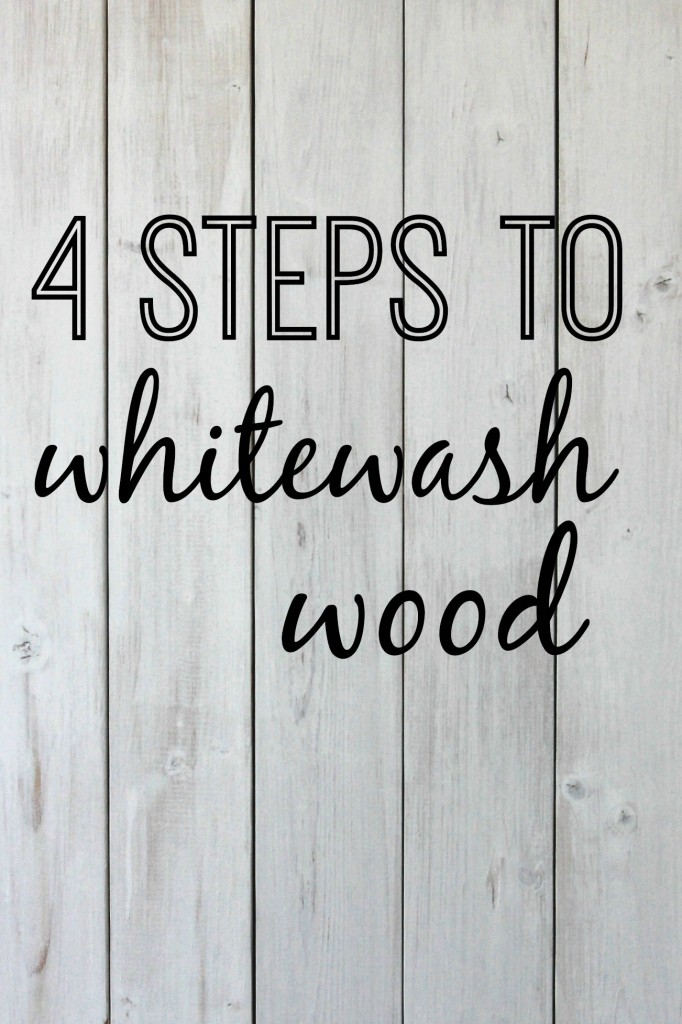
4 steps to whitewashing wood.
| supplies |
- White paint (I used leftover ceiling paint)
- bucket for mixing
- water
- stirring stick
- paintbrush
- old rag
- sanding block
Love the whitewash look? Our free design style guide offers an overview of the farmhouse style (and three more design styles) with tips on colors, furniture styles and more. Snag it for free here!
- | step one | Begin with clean wood. Remove stickers, unwanted nails, and make sure the wood is clean. If you need to use a cleaning solution to remove old sticky residue you will need to let the wood dry before moving on.
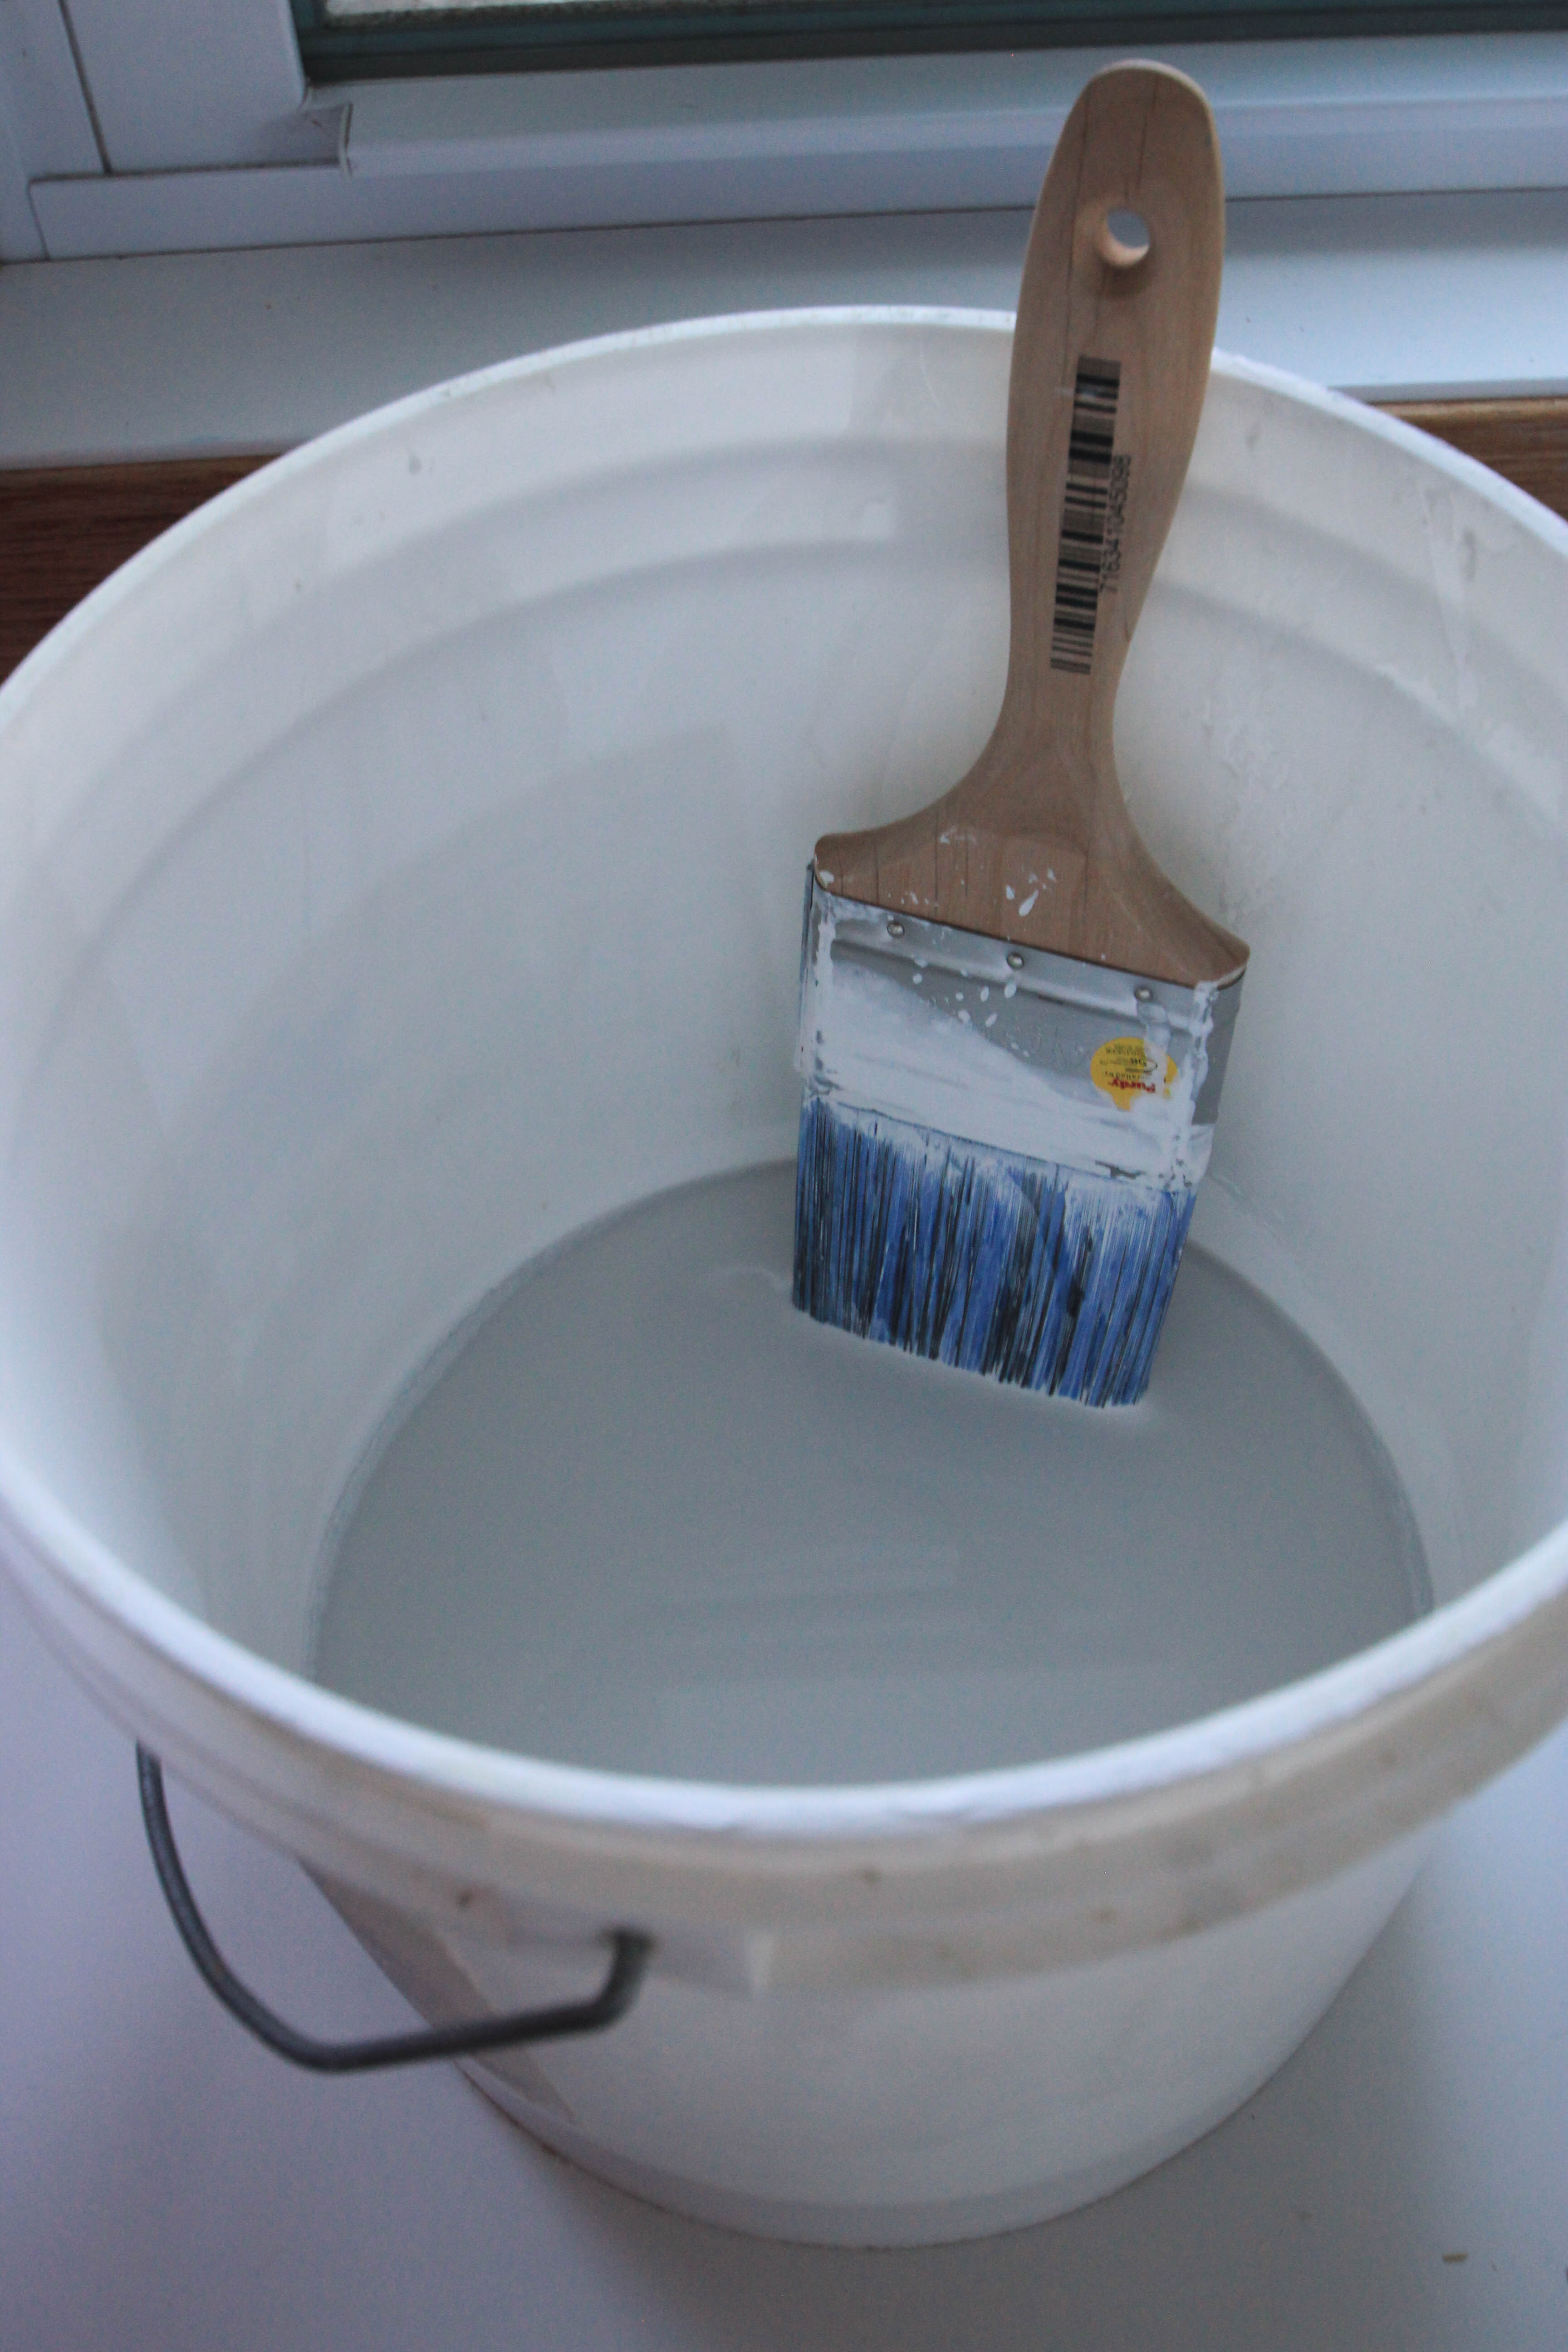
- | step two | Mix your paint. I did my research and found a variety of directions for how to mix the paint. I started out with one part paint and two parts water. However, after I realized I would need my paint to be thick enough to cover the sun marks, I ended up thickening mine to about one part paint and one part water. Make sure you mix the paint well by stirring with the stick. Every time I put my brush back into the bucket for more paint I gave it a good swirl to keep it mixed. Want a subtle, lighter whitewash? Add 2 parts water, one part paint. If you want a darker, more evenly coated whitewash make it a 1 : 1 ratio of paint and water.
- | step three | Painting time. Apply the thinned paint with a paintbrush. Make sure you are following the direction of the wood grain. It will be uneven, but that’s a good thing! I brushed over each area 3-4 times for each coat. Start with two coats and if you want a darker look add more. I used the rag to wipe down areas where my paint was too thick. Remember to always paint, and wipe with the rag, in the direction of your wood grain.
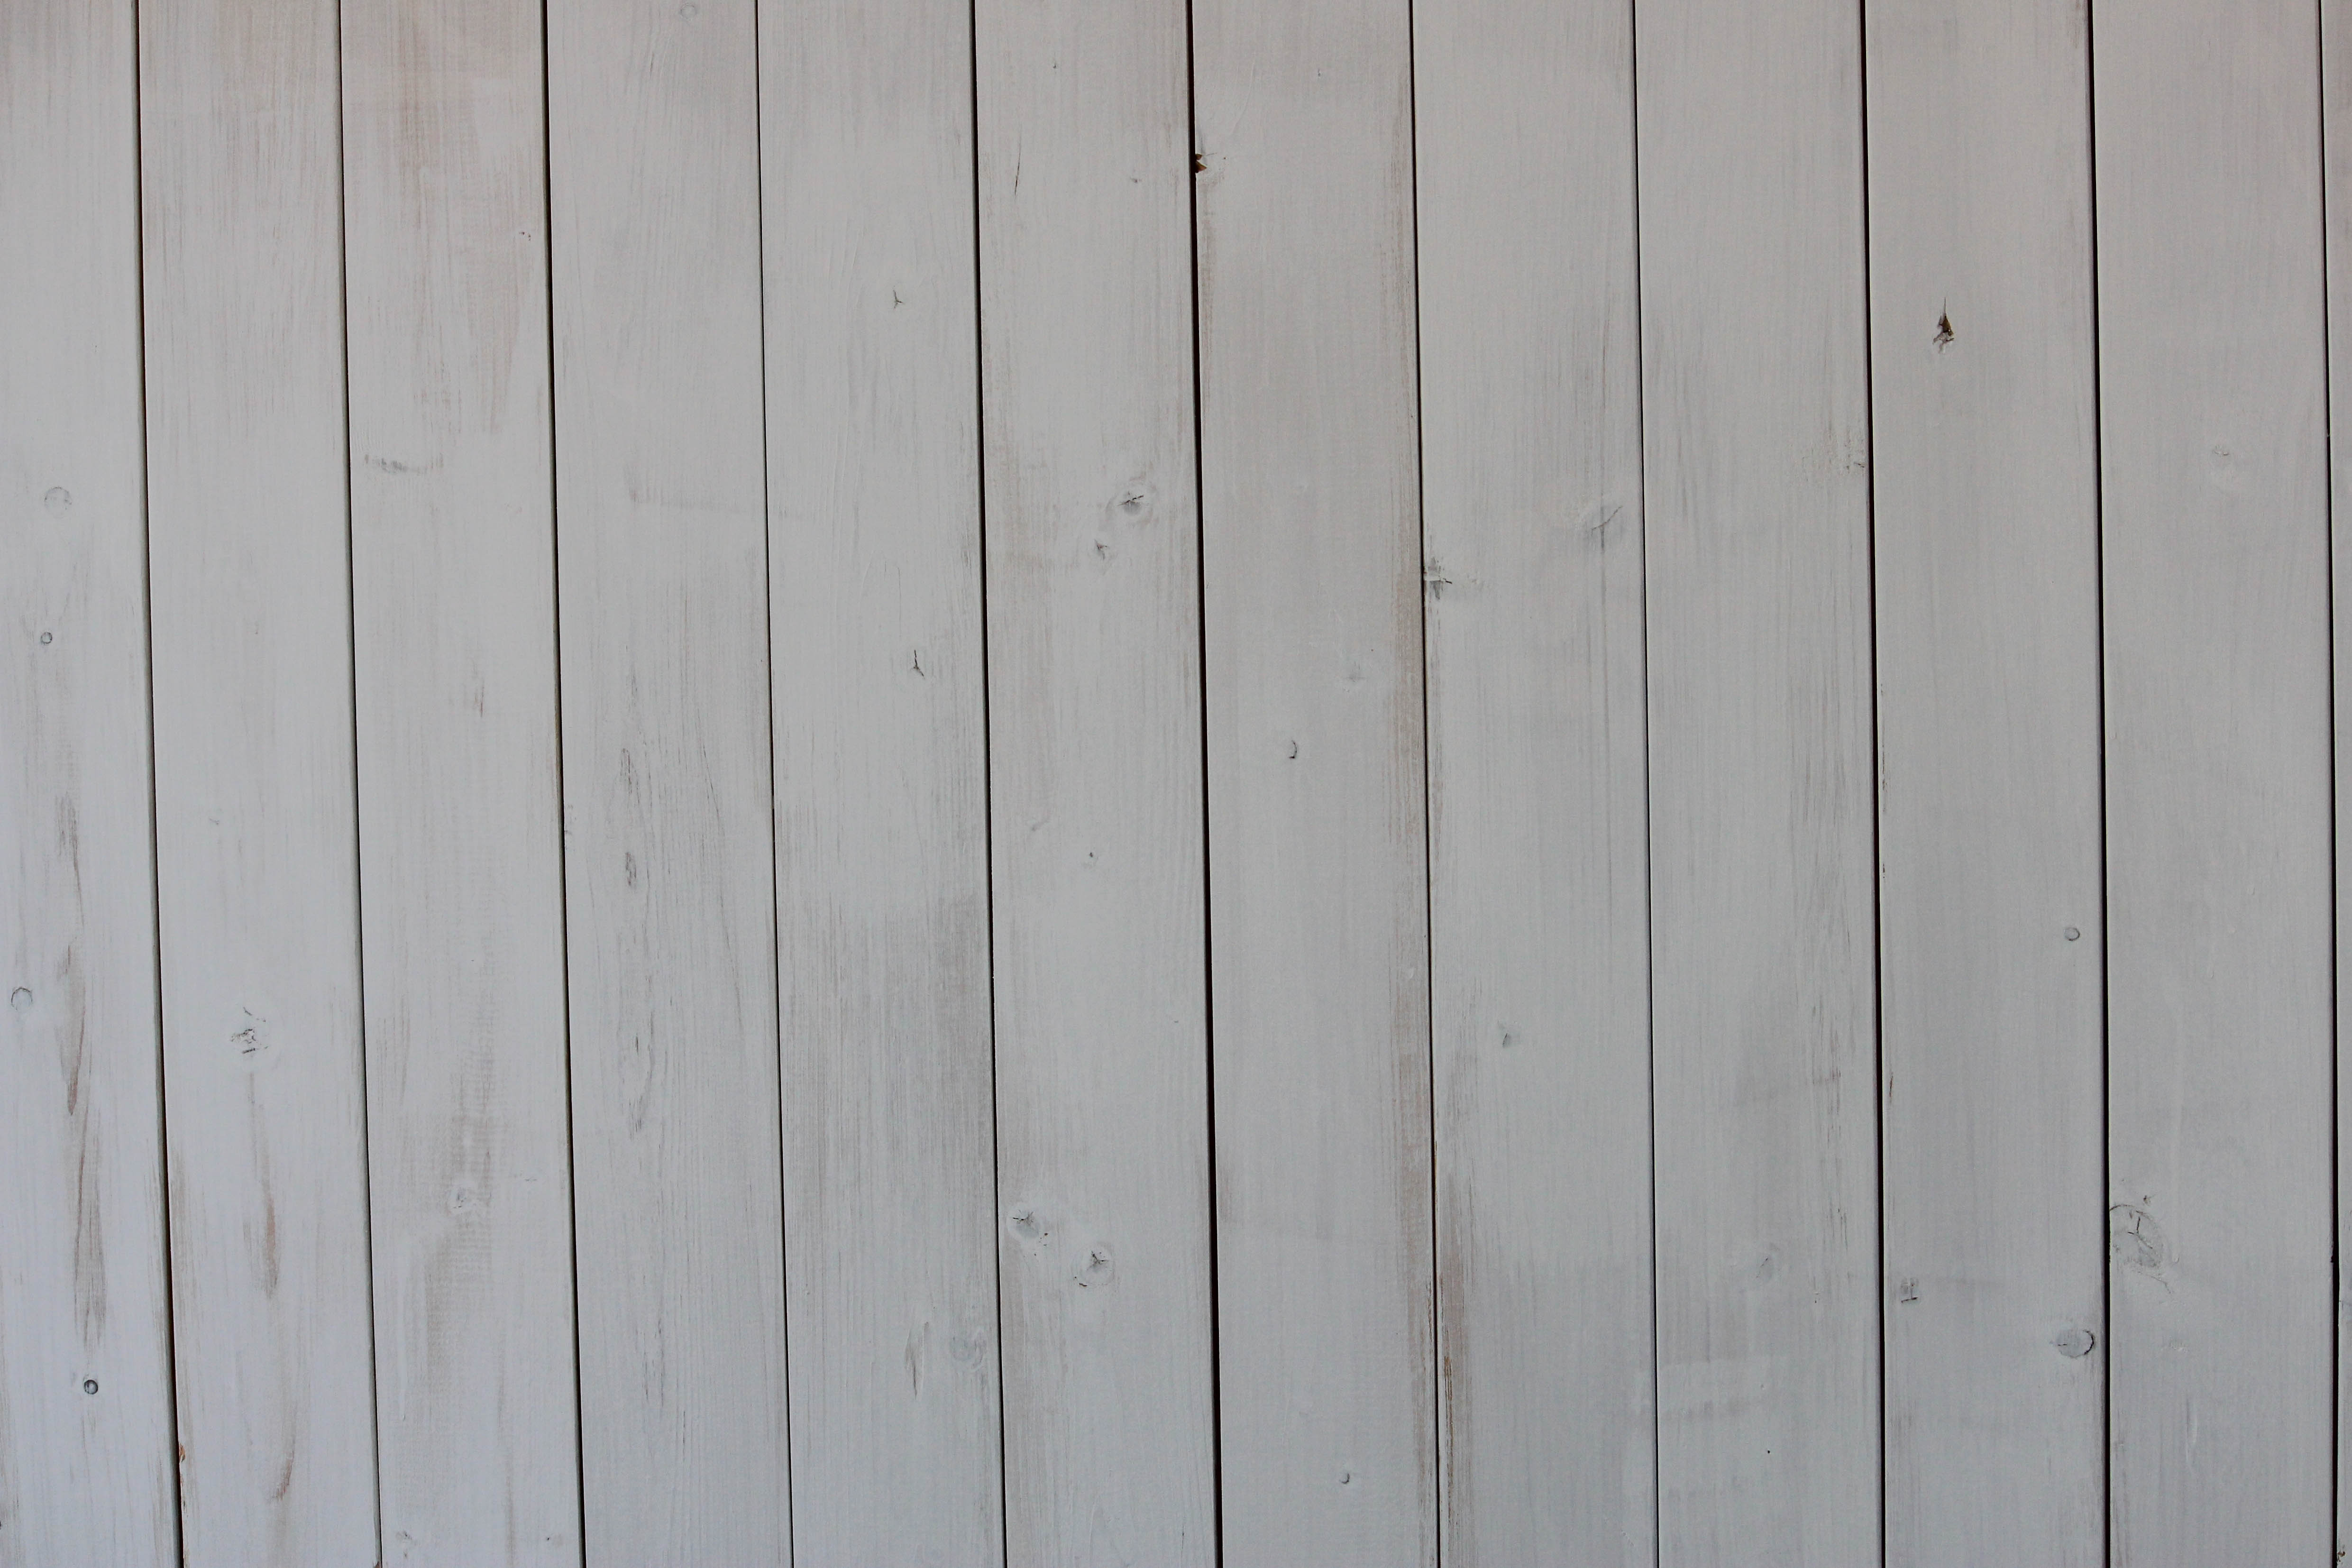
- | step four | Finish the look. Allow your wood to dry for about 24 hours. Then take the sanding block and gently sand some of the edges of the wood and a few random areas in the center of the wood. This will keep the whitewashing looking old and naturally worn. Remember, you can always go back and add more paint if you decide you want a darker white.
The beauty of a project like this is there is no perfect finished product. Whitewashing is made to be a unique finish that gives your piece a personal feel. Don’t compare it to mine. Instead make it completely your own.
Check out the final product here!
And if you prefer the look of weathered wood, but don’t want it to be white then I have the perfect option for you. This process uses no paint or stain! Only wax is used to achieve the grayish tint for a weathered wood look.

Happy painting friends.
Beautiful! What are you going to do with it now?
Come back tomorrow and see how I finished it off 😉
Hello Becky…..how do I come back to see your finished whitewashed project? Although I an not new to Pinterest. …I rarely navigate around in it. I would love to see it. Best regards, Frances
Thanks for showing me that I never linked to the final product! You can view the finished product here: https://www.homestead128.com/pallet-art-tutorial/
Have you ever used this technique with other colors? I want to try this with red for a weathered barn loom on a picture frame.
Oooh how fun! I have not tried it with colors. I would think it would work fine, assuming the paint color is well mixed before adding the water. Maybe try mixing a small sample of the red you want to use with the water and test it first? I would love to hear how this turns out!
if white washing in a bathroom do I need to put a coat over the last step of white washing and sanding……I was con ended as.to weather or not the paint would come off with wet feet..
If you are sanding down the floor and removing the finish to then paint you should put a seal and then protective finish. I would go to your local paint store and ask what they would recommend.
Any thoughts on trying to update some old black picture frames with the whitewashed look? I thought of painting them all white to start, then not sure what to do next?
Hmm.. that’s a good question! I guess it depends on what you want showing through in the thin areas. Wood? A darker color? If it were me I would probably sand it up really good first, removing at least half of the black. {An electric sander would make this a whole lot easier if you have one?} Then whitewash on top of it. The black would show through in the thinner areas though. Otherwise I would proably paint it with a light gray first, then whitewash on top of the gray. Just make sure the gray is fully dry before whitewashing. Hope this helps! Let me know what you decide to do!
I used paint on pallet planter boxes my husband built . I watered the paint down more water 5 to 1 paint but I used a burnt umber. While still wet I then with every watered black brushed very slight runs on wood can blot or run the board in small spots It evened off the different pallet colors . Though some are darker they blend in a rustic look. Used cheap acrylic paint . Then sprayed twice a matte finish . Can spray again if worried because it’s out side.. Pallets are free all over the place just look . Only they are hard to take apart so as not to break the slats. Have also white washed an easel I made to display long necklaces out side my booth at shows heavy enough to not fall over though I weight it with heavies chain . Home Depot will cut chain about 5 links for 3 legs. Put around legs tie with ribbon then slip off after show. Can also hang them from top in pretty organza little bags. Done with my help . Enjoy
Thanks for sharing!
Do i need to remove existing stain and varnish?
You need to remove most of it to allow some paint to soak in if you want the whitewashed look. I would start with rough sandpaper to sand the surface. (Save your arms and use a sander.) Then try out a small section to see if it will be porous enough to soak up the paint. They do make products to strip varnish, but they are very harsh and I don’t like using them if I don’t have to.
I love the look of the whitewashed wood; however, I am having a workshop built and the walls will be tongue and groove white pine and I would like a little more aged look. We live on a farm and I would love it to look like barn wood. It’s a rather large room and I would love something that didn’t require days and days of work. Any suggestions? Thanks
Sounds like you will have a beautiful workshop! If you want it to have the white washed look you’ll need to consider if the wood is stained/protected already. If so you’ll most likely need to sand it down lightly and then you could brush on the watered down paint. We did this same technique to our party barn and it took a good day, but we were able to get the whole barn done! If you don’t want it to look white you could go with a light stain and rub it on with a cloth to give it some depth.
Hi I’m from Australia and did much the same thing in a bedroom but useing a blue green colour it looked really nice but feeling now i would like a change.My house is a log cabin all timber and slate floors . I would like to be game to do all inside again i need a push.
Oh I hear you! After about 2 years I’m ready to repaint every room 🙂 I would love to see pictures of the finished look!
I want to try this on a table top for a farmhouse look! Thanks!
Nice and Good Luck…. I’d love to see your before and after pictures if you don’t mind sharing? I’m excited to see!
I have some wood that I purchased last year to use as a background in my food photography, I haven’t gotten around to white washing it but you inspired me to get it in gear.
have fun with and be sure to let me know how it goes…I’m ADDICTED TO WHITE WASHING AND PAINTING ALL TOGETHER. INFACT, IVE BEEN PAINTING MY PALLET SIGNS ALL WEEK. LOL…LET ME KBOW HOW IT GOES AND HAVE FUN…JAMIE
You make it look SO easy!!! I’m going to do some projects this weekend and this was crazy helpful! thanks!
It really is easy! Can’t wait to hear all about it. If you share it on social media tag me so I can see the final product!
Love the look of whitewashed wood. I have some wood trim around our fireplace that I’ve been thinking of either painting or staining a different color. Whitewash might give it the dimension I’m looking for instead of painting it a flat color.
I white wash in every color possible on my pallet signs….love it!
Great Tutorial!!! I have been wanting to do this! Thanks so much!
Great tutorial and very helpful. Thank you so much for sharing it on the #HomeMattersParty
I needed to find this tutorial – So simple and helpful. Thanks for sharing!
I just wanted to drop a note and invite you to come join us at Sunday’s Simple Homemaker Link-Up. Would love to have you link-up!! http://www.prairiegalcookin.com/sundays-simple-homemaker-1st-weekly-link-up
Love this step by step, thank you!
I’d like to make a backdrop with this white wash technique! Thanks for joining the Inspiration Spotlight party. Pinned & shared. Hope to see you again soon.
I love the look of a whitewash! Thanks for sharing this with us on Throwback Thursday last week!
Mollie
Thanks for sharing this. Hard to find information about whitewash here in Poland. Not so popular but look beautifull:)
Thanks for checking out the post! Hope it was helpful!
Nice article. If I want ‘black’washing, do I use the same techniques but in black paint? What significant effects with I get from using white paint for wood, or white paint for ceiling?
Yes you can! I’ve even used a bottle a craft paint for small projects, and tried different colors. Test out the water and paint mixture to make sure you like how thick or thin it is before beginning. Thanks for checking out the article!
I have a dark stained wood dining table. Makes my dining room look dark and gloomy. I want my dining table white! Can I white wash it and keep coating it so it can be literally white? Im scared it wont cover the dark dark stain and scared that it will still peek through to much making it look like cookies and cream. Help please!
Cookies and cream made me laugh! Great description! If you want it to be solid white I would go with a chalk paint for the table, which will give you a solid finish. The whitewashing is perfect for the projects where you want some of the stain and grain to show through. In your case go for a thick paint made for furniture. My favorite is Annie Sloans chalk paint, but it can be harder to find. You can also check places like Lowes and other home improvement stores. Many of them carry chalk paints made by other brands. Feel free to email me with any future questions. becky@thedempsterlogbook.com Thanks! x